Does Brake Caliper Position Matter?

In this guide, we dive into the science behind caliper placement, explain why the bleeder screw orientation is vital, and share key signs of caliper failure to ensure your safety on the road.


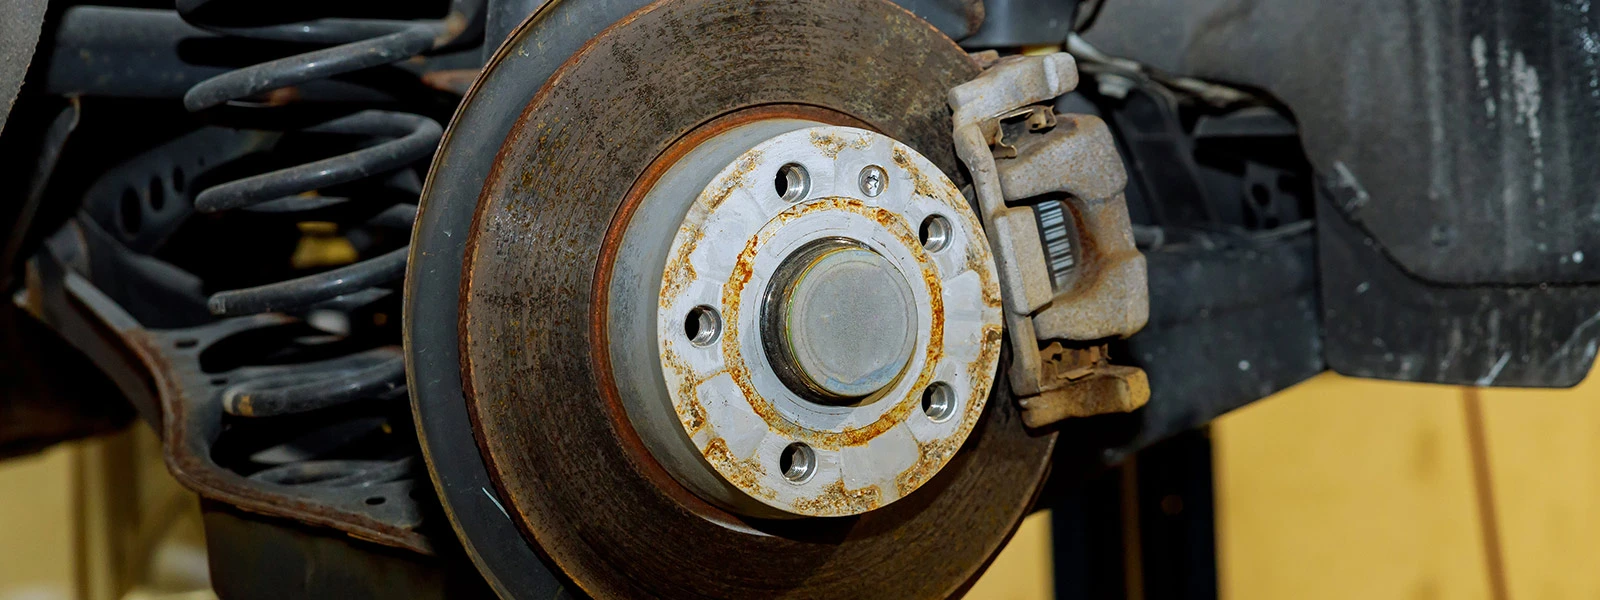
As a driver, you are likely well-aware of how your brake pedal, gas pedal, and tires interact to keep you safe on the road. However, behind the car’s wheels lies a highly sophisticated brake system working constantly to slow and stop your vehicle. At the heart of this system are the calipers. Despite their importance for vehicle safety and performance, knowledge about brake calipers is not widely known among vehicle owners.
A brake caliper is a vital component responsible for housing the brake pads and pistons. When you push down on the brake pedal, oil (specifically brake fluid) is forced from the master cylinder through the lines, creating hydraulic pressure. This pressure forces the caliper piston to extend, forcing the pads to clamp down on the spinning brake rotors. This action creates friction, converting kinetic energy into intense heat, and safely halts your vehicle by stopping the car's wheels from turning.
But does the physical position of the brake caliper on the wheel assembly actually matter? Let’s dive into the engineering, physics, and maintenance behind caliper placement.

Why Do Manufacturers Choose Specific Caliper Positions?
If you look at different vehicles, you will discover that calipers aren’t always mounted in the exact same spot. Some sit at the front of the wheel (leading position), while others sit toward the rear of the wheel (trailing position).
The placement of the brake caliper on the mounting bracket is a crucial engineering decision determined by the vehicle manufacturer during the design phase. It is highly dependent on several essential factors, including the materials used in brake caliper construction, which also influence their placement, durability, and performance:
1. Steering and Suspension Geometry
The front pair of calipers is highly dependent on the layout of the steering rack, while the rear pair is positioned around the suspension arms. Because suspension and steering components take priority to ensure a smooth, controlled ride over bumps, calipers are engineered to fit into the remaining available space without interference.
2. Weight Distribution and Center of Gravity
Engineers try to place heavy components as close to the center of the car as possible to improve handling. Positioning the calipers inward (toward the center of the vehicle) helps centralize mass and lowers the vehicle's center of gravity, which enhances stability during a sharp turn or sudden break.
3. Aerodynamics and Heat Dissipation
Brakes generate massive amounts of heat through friction. Airflow entering through the front of the vehicle is designed to cool down the rotors and calipers. Proper placement prevents airflow interruption, ensuring the system cools down rapidly to avoid brake fade.
4. Vehicle Architecture (Sedans vs. SUVs vs. Trucks)
Different platforms require unique layouts:
-
Sedans: Built primarily for smooth, paved roads, these vehicles use streamlined, stock layouts that optimize daily driving efficiency.
-
SUVs: Designed for heavier loads and varied terrains, SUVs require robust suspension clearance, which can dictate alternative caliper positions for optimal packaging.
-
Trucks: Heavy-duty trucks require massive stopping power. Their layout must accommodate oversized rotors, heavy-duty caliper hardware, and larger wheels, meaning the caliper position is tightly locked into a configuration that allows for maximum clamping force.

Can You Change the Brake Caliper Position?
A common question among automotive DIY enthusiasts is whether you can change or customize the position of your calipers (e.g., moving a caliper from the 3 o'clock to the 12 o'clock position).
Important Note: While it is technically possible to alter configurations using aftermarket parts, changing the manufacturer's initial position is not recommended and is rarely applicable for standard street vehicles.
Altering the factory placement provides no performance benefit and can introduce severe safety risks. Most importantly, it can disrupt the orientation of the bleeder screw.
The Golden Rule: The Bleeder Screw Must Face Up
For any brake caliper to function properly, the bleeder screw must be located at the absolute top (the 12 o'clock position) of the caliper.
When replacing calipers or flushing brake fluid, air naturally rises to the top of the system. If you match the wrong caliper to the wrong side—such as swapping the left and right calipers—the bleed screw will end up at the bottom. If air becomes trapped inside the caliper, your brake pedal will feel incredibly spongy. Driving with air in your lines is hazardous, as it can lead to total brake failure and an inability to stop the vehicle in time.

Signs of Brake Caliper Wear, Damage, and Failure
Like all mechanical parts, calipers suffer from wear and tear over time. Exposure to road debris, moisture, and extreme heat can cause damage that compromises your vehicle's safety.
Watch out for these signs that your calipers or surrounding hardware may have failed:
-
Vehicle Pulling to One Side: If a caliper piston gets stuck due to rust or corrosion, the pads will continuously clamp down on the rotor. This causes the car to pull toward one side while driving.
-
Squealing or Grinding Noises: A stuck caliper causes rapid wear on the brake pads. Once the friction material is gone, metal-on-metal grinding will occur, destroying your brake rotors.
-
Fluid Leaks: Internal rubber seals and external dust boots protect the hydraulic fluid. If these seals degrade or suffer from cracking, brake fluid will leak, causing a dangerous drop in system pressure.
-
Abnormal Heat or Burning Smell: A seized caliper keeps the pads in constant contact with the rotor, generating extreme heat and a distinct burning oil or friction smell near the affected wheels.
|
Brake Component |
Common Issues / Symptoms |
Maintenance Action |
|
Seized pistons, torn boots, rusted pins |
Clean/lubricate hardware or replace the unit |
|
|
Uneven wear, friction material damage |
Install a complete set of new pads |
|
|
Warping, deep grooves, surface rust |
Resurface or replace alongside new pads |
|
|
Contamination, moisture absorption, low levels |
Flush the system and refill via master cylinder |


How to Properly Replace Brake Calipers: A Step-by-Step Guide
If you notice symptoms of a failing caliper, it is vital to address the problem immediately. When replacing calipers, you must always replace them in pairs (either both front calipers or both rear calipers) to ensure even braking performance and longevity.
If you are a confident DIYer, here is a general overview of the replacement process:
Step 1: Prep and Safety
Park the vehicle on a flat surface. Loosen the lug nuts on the car's wheels, raise the vehicle using a secure jack, and stabilize it with jack stands. Remove the wheels entirely to gain clear access to the brake assembly.
Step 2: Disconnect and Clean
Locate the brake line attached to the caliper. Carefully disconnect the banjo bolt and plug the line to prevent excess brake fluid from escaping. Use a dedicated brake cleaner to clean the caliper hardware and mounting bracket—this cleaning step is crucial for removing brake dust, debris, and corrosion, which helps prevent future corrosion and ensures proper function.
Step 3: Remove the Old Caliper
Unbolt the caliper from its mounting bracket by removing the guide pins. Slide the old caliper off the rotor. If you are replacing the pads and shims as well, remove them from the bracket now.
Step 4: Install the New Caliper
Take your new caliper and verify that you have the correct side (ensure the bleeder screw faces upward). Install new shims and hardware, apply proper lubrication to the slider pins, and secure the new caliper onto the bracket. Reconnect the brake line using brand-new copper crush seals to prevent leaks.
Step 5: Bleed the Brake Fluid System
Because air entered the lines when the brake hose was disconnected, you must bleed the brakes. Fill the master cylinder with fresh brake fluid. Open the bleeder screw on the new caliper, have an assistant push the brake pedal to force out trapped air, and close the screw before the pedal is released. Repeat until the fluid runs clean and free of bubbles.
Step 6: Test Drive
Reinstall the wheels, lower the vehicle, and pump the brake pedal several times to seat the pads against the rotors. Conduct a slow test drive in a safe area to ensure the system responds perfectly.

The Bottom Line
Does brake caliper position matter? Absolutely. The location of your calipers is carefully calculated by automotive engineers to balance weight distribution, optimize cooling, and accommodate steering and suspension designs.
When it comes to maintaining your vehicle’s brakes, always stick to the manufacturer’s stock configuration, prioritize the top-facing position of your bleeder screws, and never compromise on the quality of your caliper hardware, seals, and pads. Keeping these components in pristine condition ensures the longevity and lifespan of your vehicle, keeping you safe on every journey.


