How Do I Know If My Blower Relay or Fuse Is Blown?

It takes many different parts working together for a vehicle to move. The relay switches make up a few of these components. Relay switches are used to ensure that the vehicle's features to which they are allocated can function correctly.


It takes many different parts working together for a vehicle to move. The relay switches make up a few of these components. Relay switches are used to ensure that the vehicle's features to which they are allocated can function correctly. These switches convey signals to a variety of components. The ignition switch and the starting switch ensure power is transferred from the battery to the starter for the vehicle to start.
Any relay switch, whether a starter switch or a relay for the horn, has the potential to fail, which is why electrical troubleshooting of a control relay and a blower motor are two of the most significant abilities collision repair technicians need. Some relay switches contribute far more to the issue than others. There is always a fuse attached to these relay switches, ensuring the current that passes through is the precise amount. However, this fuse may also get blown up, which can lead to the relay switches not working. In this case, you need to check the relay fuse.
Checking to verify whether the fuse is still good may be done in one of two ways. The first step is connecting a wire to the various connectors to see whether or not this will make it function. A multimeter may be used to determine the resistance level, or a vehicle battery can be used instead.
It's possible that excessive voltage ruined the insulating membrane on the coil, which would explain one of the issues. There is the possibility of a malfunction with the computer, a problem with the resistance, damage, or exposure to water.
This blog will walk you through determining whether the fuse protecting a relay has blown and what factors could contribute to the difficulty you're experiencing. So, without further ado, let’s get started.
Heater Blower Fuse Blown
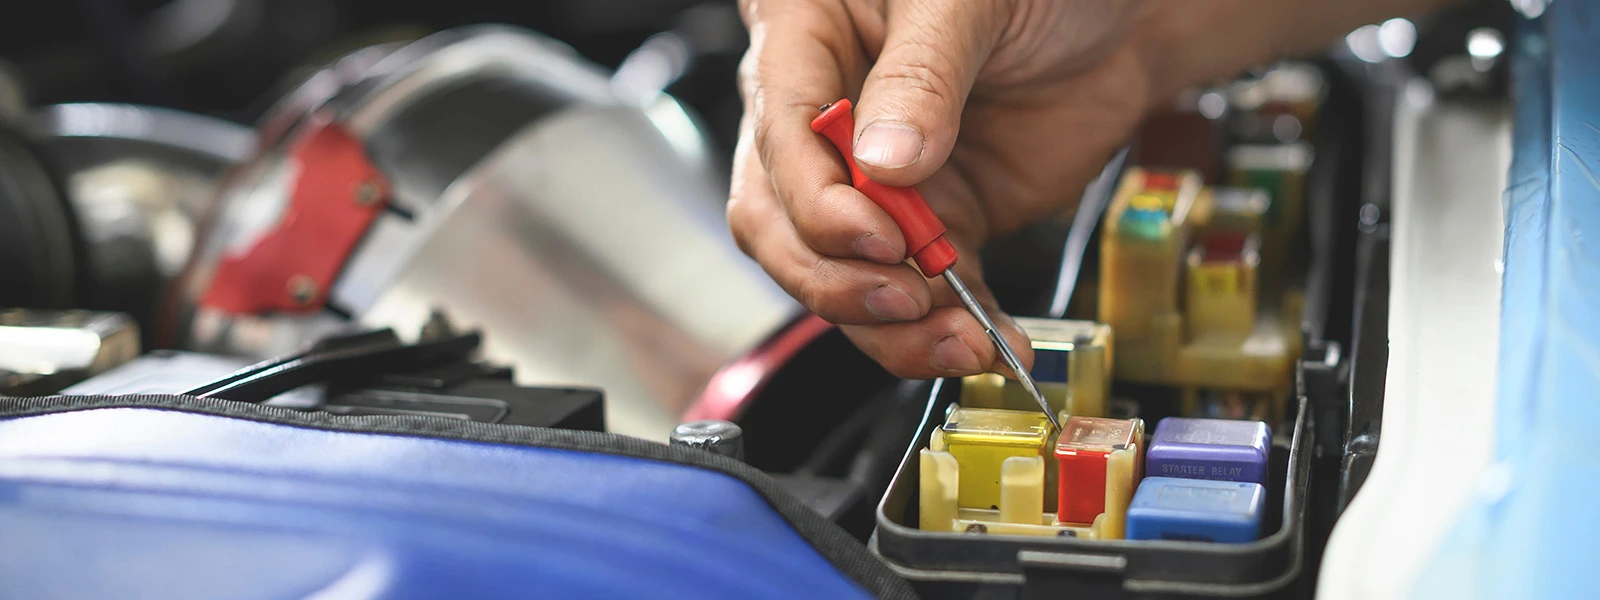
Because checking for a blown a fuse is the step that requires the least amount of effort, it comes first on the check-off list. Even though it is true that colder weather may produce more amp demand, which can cause fuses to explode, it is much more frequent for fuses to blow as a result of a more fundamental problem.
The point is that your vehicle will have a ton of fuses stored in two or more fuse boxes placed under the hood. Because modern automobiles carry a ton of electrical components, each of which needs a fuse, your vehicle will have a ton of fuses.
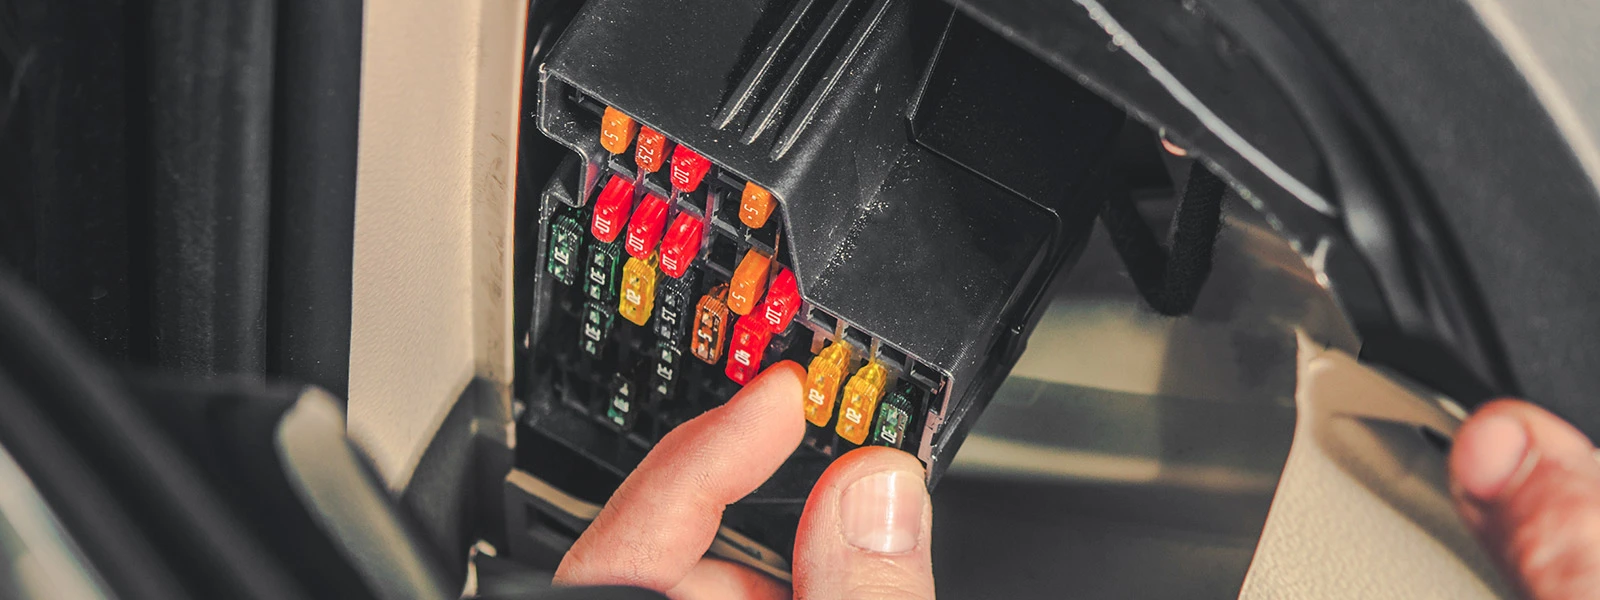
You can find the location of the fuse box and the fuse number by doing a simple internet search for your make and model, or you can check in the portion of the driver's handbook dedicated to fuses. The fuses for most versions are listed on the back of the cover for the fuse panel, which is a handy feature; I wish that were the case with all models.
Fuse Blower Relay Symptoms: What to Look For?
Various relay switches exhibit a unique set of symptoms under stress. Three need close inspection since they indicate significant problems with the playback fuse. They are as follows:
- An automobile that has failed to start.
- A car that does not always start when it is attempted.
- Series of quick clicks coming from the starter.
It's possible that an excessive voltage caused the insulating coating on the coil to be damaged. There might be a problem with the computer, the resistance, the damage, or the exposure to water.
Most are connected to the starter relay or the ignition relay switch. However, if one of your accessories isn't functioning correctly, another relay in your system may be faulty. In any case, you check the fuse in every one of these devices in precisely the same manner.
How Is the Blower Motor Fuse Checked?
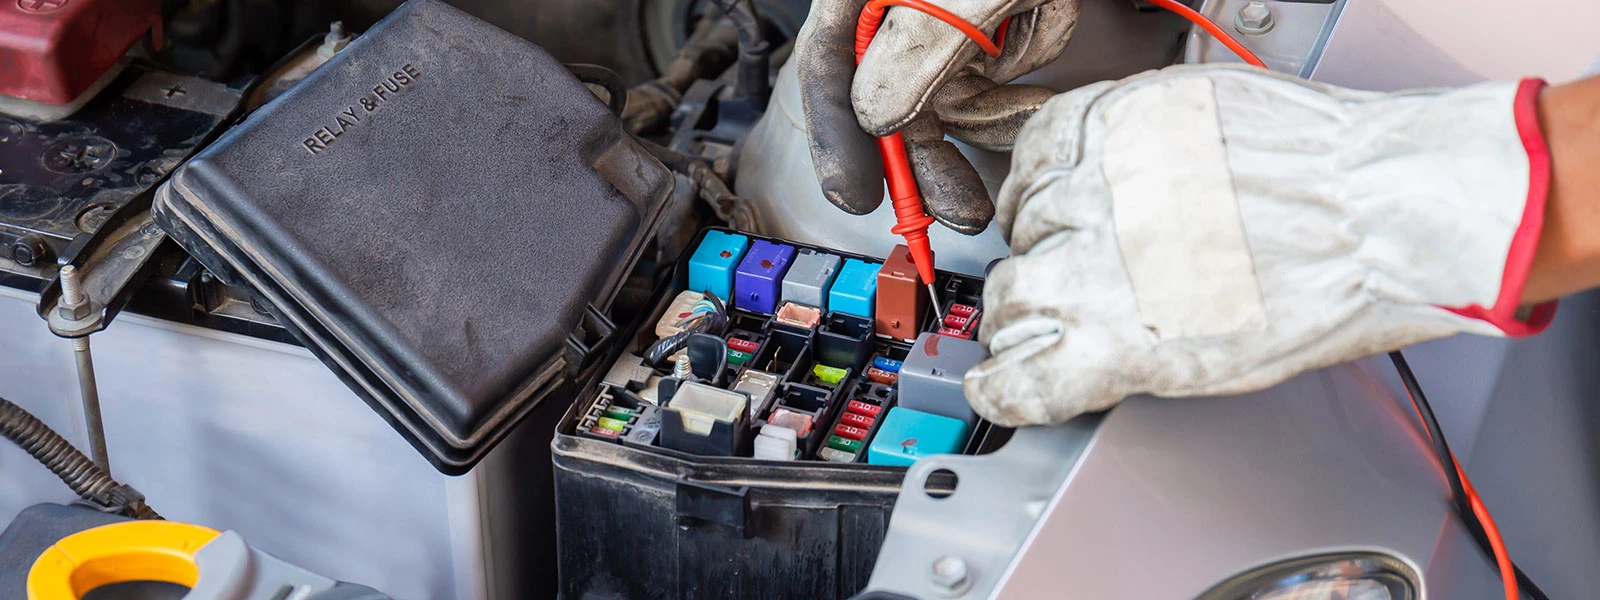
Examining a fuse visually and using wire to test its connection are simple methods that may be used to determine whether or not it has blown a fuse. Now that you've discovered the fuse box and identified the blower, and motor fuse, you may remove it and examine the filament. If it's broken, it means the fuse has been blown. It is possible that replacing the fuse may fix the issue; however, there is also a possibility that the fuse will blow again either immediately or soon after the replacement.
Because the blower motor requires around 35 amps of power while operating, the fuse protecting it will likely have a high amperage rating, such as 40A. The size of the fuse is imprinted onto the casing of the fuse, and it also has a color code.
Using an inappropriately sized fuse for the circuit is one of the leading causes of fuse failure. It is essential to replace the fuse with one with the appropriate amperage; if the amperage is too low, the fuse will continue to blow, and if the amperage is too high, there is a danger of fire. If your fuse is blown and you replace it only to discover that it blows again, you may have a blower motor limitation (check for tree fall in the fan blades), a short in the wiring, or, most likely, a damaged blower motor. There will be further discussion on malfunctioning blower motors later.
After double-checking the fuse, an auto mechanic would grab a code reader and examine the vehicle's temperature control module (also known as the computer) in search of error codes. If you are examining yourself, turn off the engine and remove the relay from its socket before continuing to examine it. Insert a snippet of wire into each of the relay connection holes. The turbocharger is an essential part of the diagnostic procedure; if you have access to one, now is the time to connect it. You may look at the page containing auto electrical repair equipment to see the bidirectional tool.
Because most people don't have a scan tool, I will proceed to diagnose this issue with just the assistance of simple instruments.

How Do You Test the Relay for The Blower Motor?
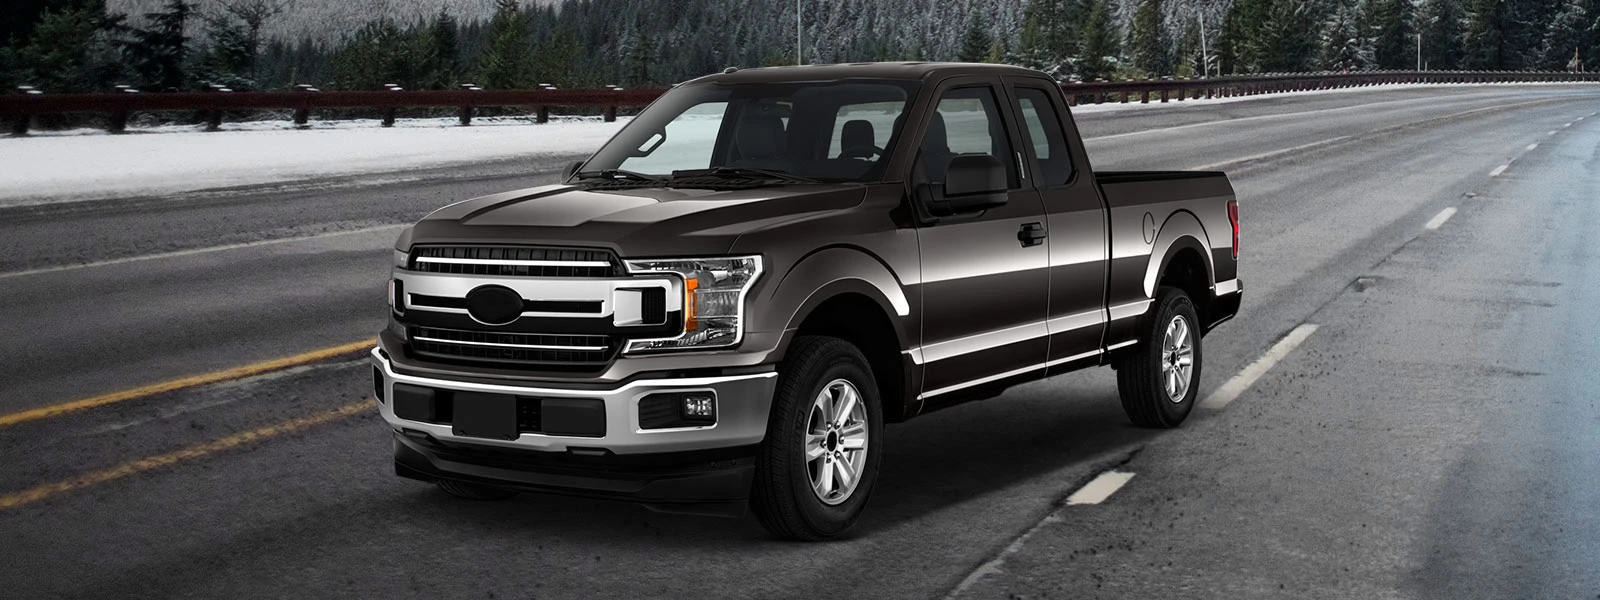
Problems caused by blower relay fuse failed, please refer to What is a blower motor on a car, Why Ford F150 blower motor not working, and The reason Mercedes Benz blower motor not working
Here are some of the ways to test the relay for the blower motor:
- Find the fuse that controls the blower motor. It is probably a 30 or 40-amp fuse, and its rating may be indicated on the lid of the fuse box or in the driver's handbook.
- Checking for power at the blower motor fuse when both the ignition and the motor are on may be done using a test light or voltmeter. Most of the relays within fuse boxes are interchangeable since they are all the same. You may quickly determine whether or not a relay is malfunctioning by switching it out with an identical relay and then testing the blower motor; however, before doing so, you should double-check that both relays are, in fact, the same.
- Another simple test you can do is to check to see whether the blower switch makes a click when it is switched on. When first switched on, relays will produce a click that may be heard, indicating that the electromagnetic arm has been activated. However, attending a click does not indicate that it is functioning well; instead, it only suggests that the circuits look in excellent working order.
- Check the power at the fuse using a multimeter when the ignition and the blower motor are turned on. There should be no issues with the relay if there is power there. If, on the other hand, there is no power at the relay, this may indicate that there is a problem with either the relay or the controller.
- If changing the relay does not fix the problem, you should use the multimeter to check for power and ground on the control side. This will help you determine where the problem is located on the load side of the control side.
An issue with the control module is likely to blame when there is insufficient power on the control side. After installation, control modules sometimes need to have their software updated and calibrated, which may be costly. This may be the road if you believe there is a problem with the control side.

Conclusion
If the fuse blower relay stops operating, several things might go wrong with your car. For instance, you could have trouble starting the automobile or notice no power messages on the dashboard when driving, etc. Fortunately, resolving this issue is as easy as going through the above procedures. There are some components in an automobile that should always function properly.
Your car will not start up without the blower motor’s relay switch operating correctly. In other words, how can you tell whether this component works or not? The first includes using a voltmeter and evaluating the relay’s output for continuity and resistance. If both tests are negative, then chances are that the fuse is blown and requires replacement immediately!
A blown relay switch may have a variety of symptoms. If you're unsure what to do, call a professional automotive technician. The relay switch is likely defective if you can't get your car to start after repeated attempts.