How to Repair a Car Window Regulator

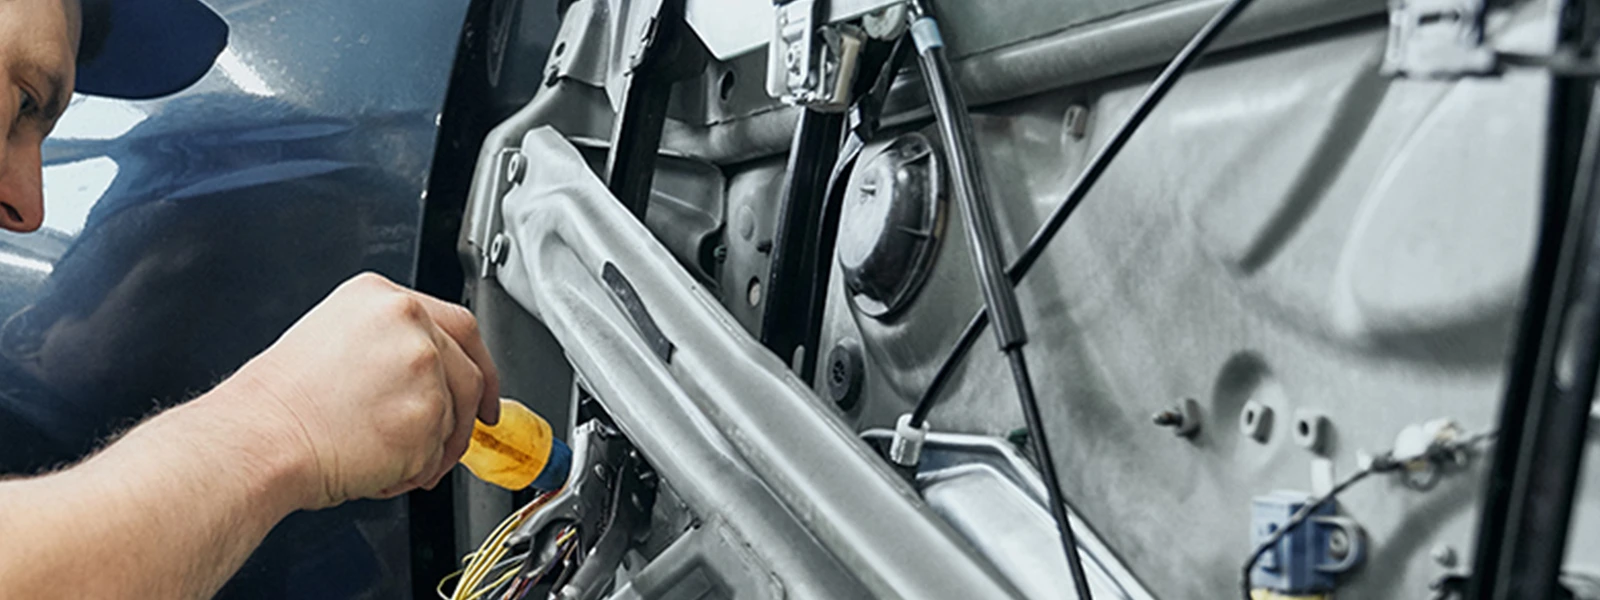
A car window regulator is a mechanism that allows you to move your car window up and down. The mechanism is usually placed inside the door, inside the panel on each car door. Furthermore, the regulator is usually connected to the window motor.
A car window regulator is a mechanism that allows you to move your car window up and down. The mechanism is usually placed inside the door, inside the panel on each car door. Furthermore, the regulator is usually connected to the window motor. The regulator and motor may come as a single unit or separate elements, depending on the vehicle model. Additionally, there are two standard car window regulator types; cable and gear. As simple as it is, a car window regulator is a critical component.
A car window regulator is a relatively simple tool that requires not much care or adjustment. Therefore, you can keep it in top-notch shape by only lubricating it occasionally. However, this does not mean that it is immune to performance issues. For instance, the regulator is prone to wear and tear, damaging its cables and preventing it from functioning normally. Furthermore, the regulator can break, causing the window to fall or get jammed inside the door. Additionally, worn-out or frayed car window regulators can cause abnormal noises when you move the window up or down. When these issues occur, the right response is window regulator repair.If you want to know the cost of replacement window regulators, please refer to Window regulator repair cost

The process to repair your car’s window regulator
Traditionally, repairing and replacing a car window regulator was easy. However, the availability of various vehicle models has made the process slightly more complex. That means you will have to source some key details to understand the process, especially if you are doing the repairs for the first time. The following steps will help you;
If the window is out of track, the repair method can be referred to How to get my windows off track fixed
Step 1: Troubleshooting
Troubleshooting is a logical and systematic search for the root of a problem on a machine or system. It aims to help develop the best solution. For instance, various issues can prevent your car’s window from moving up or down. Therefore, the problem may not always stem from the regulator. For this reason, it would be unwise to conclude without understanding the issue’s source. Troubleshooting window regulator issues can be challenging. Therefore, it would be wise to get support from a car dealer. Most dealers use a tool to scan and test the switch, motor, and other electrical components on your vehicle’s window and door. On the other hand, you can use the symptoms for troubleshooting.
Step 2: Gather the necessary tools
Once you are confident of the source of the problem, the next step is to gather the necessary tools for the repair process. Below are the items you will need for the repair;
- Screwdriver (preferably 4-in-1)
- A cordless drill
- A set of sockets
- A trim panel removal kit
- A voltage tester
- Leather gloves
- A service manual you can download online or acquire from a dealer
Step 3: Remove the door panel
Once you have isolated the source of the issue and have all the necessary tools for the repair, the next step is removing the door panel. Traditionally, this would be easy. However, the process may be slightly complicated with the different model types and panel designs. For instance, some panels are held together with fasteners while others have push pins. Regardless, the following steps may help;
- Locate all the fasteners or push pins around the perimeter of the door panel and unfasten them.
- Once the fasteners are off, you can pry off the panel by sliding it upwards. If you experience trouble doing this, you can use a trim tool to loosen the clips on the panel.
- Once the panel is loose, you should not pull it off the door right away. This is because wires and hooks connect to other parts of the door, like the handle and switches. Therefore, disconnecting the hooks and wires would be wise. Afterward, disconnect other elements still connected to the door panel.
- After disconnecting the hooks and wires, you cannot remove the panel. However, do not pull it too hard or quickly to prevent damaging other elements on the door.
Step 4: Disconnect the window
The next step after removing the panel is disconnecting the window. Again, begin by lowering the window to access the area where it connects to the window. You can lower the window manually if the regulator mechanism does not work. Once the window is down, follow the procedures below;
- Disconnect any fasteners securing the window to the regulator using a screwdriver. While doing this, ensure to support the window so it does not come off and break. It is worth mentioning that some windows are secured to their regulator using brackets and glue. Therefore, in such cases, you may need a torch or heat gun to loosen the glue. However, ensure not to concentrate the heat in one place on the glass because the heat will expand the glass, shattering the glass.
- After disconnecting the fasteners, removing the door’s window is the next step. However, experts recommend against this because of the risk of breaking the glass and incurring additional repair costs. Instead, you should push the window back up and use painter’s tape to secure it. Note that the tape may not adhere to the window if the glass is dirty. Therefore, start by cleaning the glass and then securing it with tape.

Step 5: Remove the regulator
The next step after disconnecting the window is removing it from the regulator. While doing this, ensure not to use excessive force or pull too hard to prevent damaging other parts of the door or hurting yourself. Finally, as long as it fits, you can remove the regulator from any hole in the door. Note that this process may differ depending on the vehicle model.
Step 6: Remove the motor
As mentioned earlier, some window regulators and motors come as a single unit while others come separately. Therefore, if your vehicle model features the former design, you can skip this step. On the other hand, if your motor and regulator are separated, you will need this step. Below are some guidelines to see you through the process;
- Disconnect the cables attaching the motor to other components on the door
- Loosen its fasteners
- Take advantage of the tension spring to remove the motor from its position while practicing extreme caution.
Step 7: Repair or replace the regulator
Finally, you can assess the regulator and the motor to determine if you can resolve the issue through repair or replacement. If the solution is to repair the existing part, it would be wise to seek professional help. On the other hand, if you need to replace it, you can embark on the installation process.
Installing a new window regulator is a complex process that requires precision. Therefore, you cannot take chances with its placement or connections. For this reason, this is where the manual will come in handy.
Step 8: Reinstall the window and test
Once you have correctly installed the new window regulator, the next step is testing it. However, you cannot test it with the window disconnected; you must follow the right procedure for reconnecting the window and testing it to see if the new regulator works. Then, you can move on to the next step if the new regulator works correctly. However, if it does not, you may have to repeat steps three to six.
Step 9: Reinstall the rest of the vehicle’s door components
Complete the process by reinstalling the rest of the components to their correct position. This step should be easy if you complete all the former procedures correctly. Follow the following simple procedures;
- Reconnect the electrical components on the regulator to the motor
- Check if the parts work to ensure that the reconnection is right
- Reconnect the motor to its proper position and ensure that all the cables and wires are correctly connected
- Reinstall the inside door panel and fasten it. Make sure to secure the internal components of the door before fastening the panel. The last thing you want is to rerun the entire process.
- Finally, double-check if the repaired or new regulator works well. You may need expert assistance if the issue is not resolved even after following these procedures carefully.
Sometimes, the issues may not require replacing the regulator. For instance, the cause of your window not going up or down could be the cables being out of place or loose. In such cases, the troubleshooting step will help you discover this issue and resolve it. Additionally, the problem may also be that your car window needs lubrication. Therefore, if you experience any problems with your car windows, you should try lubricating them before resorting to regulator repair processes.
Conclusion
Hiring an expert would be wise if you do not have ample experience and expertise to conduct a car window regulator repair or replacement. Additionally, you need to ensure you have a suitable replacement regulator for the task. The good thing is that a new car window regulator is not expensive. However, you should ensure to get a good dealer or test the quality of the part before acquiring it. Finally, it would be best to be careful about handling the car components because you may damage other parts and spend more money on repairs and replacements.