How to Replace Door Lock Actuator Motor?

The door lock actuator is situated in a car to aid people in locking and unlocking the doors automatically with just a click of a remote, without going through a lot of hassle. But sometimes, these door lock actuators stop working.
The door lock actuator is situated in a car to aid people in locking and unlocking the doors automatically with just a click of a remote, without going through a lot of hassle. But sometimes, these door lock actuators stop working. Now, there could be a lot of reasons for an actuator to become faulty or broken, but the majority of the time, it's the small motor fixed into the actuators that give out.
The kind of motors used in making the actuators are simple and small, the kind of motor you see in ordinary things, nothing special. These motors are very fragile, and there are some reasons they become faulty or broken. If it doesn't work, you will have to replace the motor.
In this article, we will tell you why a motor dies and the symptoms you will notice when the motor inside the actuator is not working. Then finally, we will let you know how to replace the motor to get the actuator to work again. Read on to learn all about it!
Symptoms Of a Door Actuator Motor Not Working
Following are some of the symptoms stated for your convenience that will indicate that the motor of the door actuator has failed:
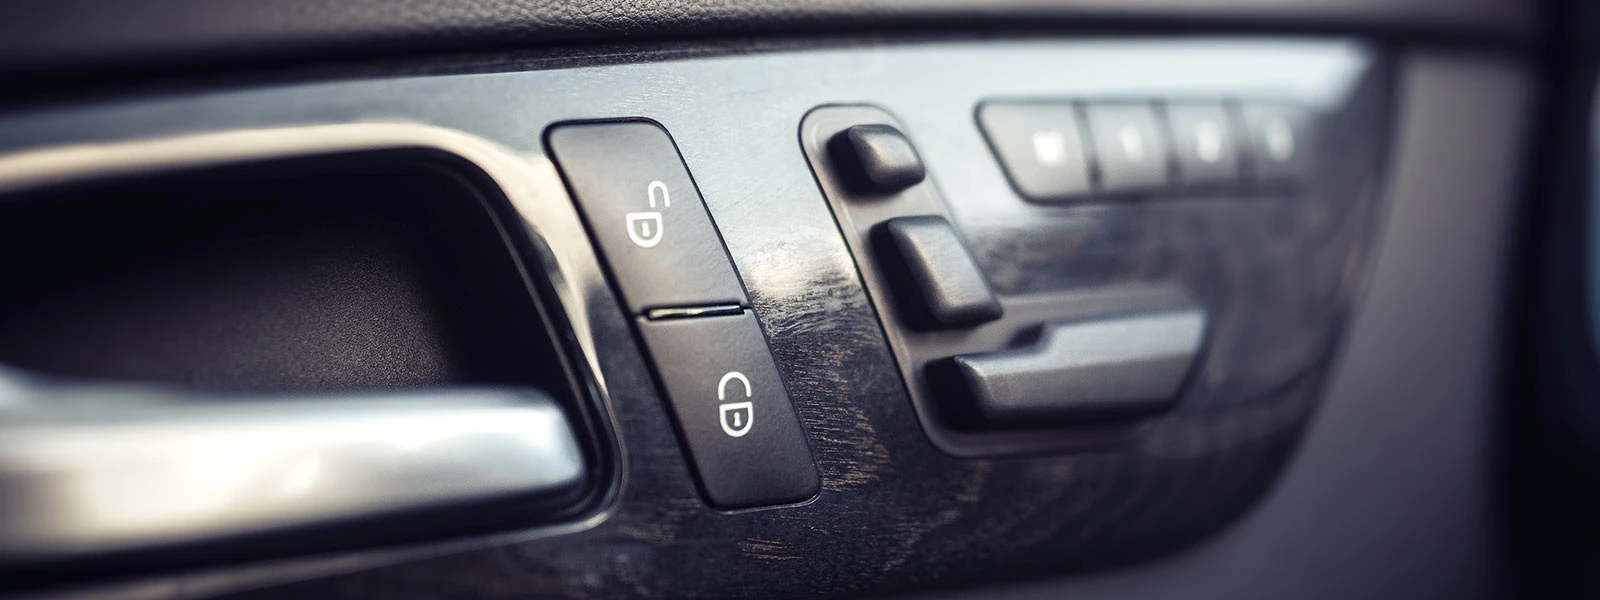
- The first sign of a failed actuator motor is that your car door wouldn’t lock or unlock. No matter if you try it with the remote control or the switch placed inside the car on the door. Furthermore, there wouldn't be a flash or clearance light when pressing the switch or the remote button. You will also be unable to hear any noise from the door affected.
- All other doors will generally lock and unlock themselves except for the affected one.
- If you close the faulty door first and then lock it manually, then you lock the other doors with the push of the lock option on the remote, the other doors will lock normally, and you will also be able to see the clearance flash appear.
- When getting into the car, if you unlock the faulty door manually and afterward, with the press of a button, you unlock the other door, they will be unlocked usually, and the flash of clearance will appear twice, indicating that your car has been unlocked successfully.
For more info, please refer to How much does it cost to repair a door lock actuator, What is a door lock actuator, and Several ways to troubleshoot your door lock actuator
Reasons Why a Motor Breaks Down in The Actuator?
Since motors used in the actuators are small and fragile, one of the primary reasons they break down is that they have completed their lifespan. The second reason could be an overload on the motor. When you lock and unlock 3 or 4 times in a row, one after the other, the motor gets worked up and breaks down. This is because these kinds of motors are not made for many loads. Not getting proper electrical signals could also cause the motor to go bad.
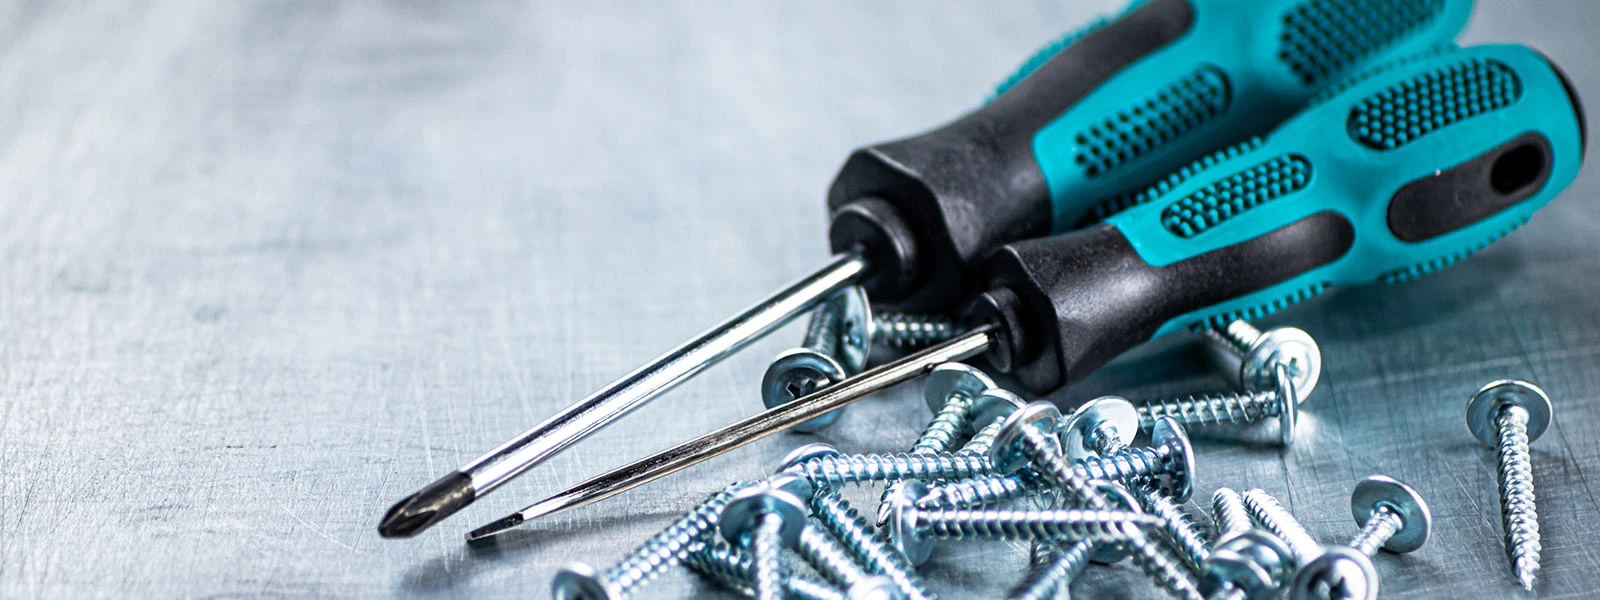
Things Required to Carry Out the Replacement Procedure
There aren’t many tools that you would require to replace the broken motor inside the actuator. You only need a normal number 2 screwdriver and a stubby number 2 screwdriver. You also need a new motor to replace it with the old one. The motor used in the car door lock actuator is a fundamental motor that will be readily available in the market. Having everything you might need to complete this process will most certainly get the whole thing done more efficiently and successfully.
Preparations For Replacing the Motor in The Door Lock Actuator
To carry out the replacement procedure successfully and without any damage to you and your car, the following are some protocols everyone should follow:
- Step 1: You first have to take your car somewhere with a flat surface on which you can park your car. The surface should also be challenging and also not uneven.
- Step 2: After you have parked your car at the right spot, push the handbrake button or the manual handbrake to lock the tires. This will keep the car in its place and keep it from moving. You can also apply wheel chokes around the wheels.
- Step 3: This step is optional, but doing it would only benefit you. Connect a nine-volt battery saver into the plug assigned as a cigarette lighter. The battery saver will help keep your car computer on and functioning. This computer will keep you updated about your car's current settings.
- Step 4: Finally, open the hood of your car and spot the battery. Locate the battery’s negative terminal and then remove the ground cable. This will cut the power supply to the door actuator. If your vehicle is a hybrid, we suggest you read the manual and disconnect the small battery by following the instructions.
Procedure To Replace the Door Actuator Motor
Following is the complete procedure for replacing the actuator motor, from opening up the trim to connecting all parts back together. For relevant info, please refer to How to replace the door lock actuator and How to repair a door lock
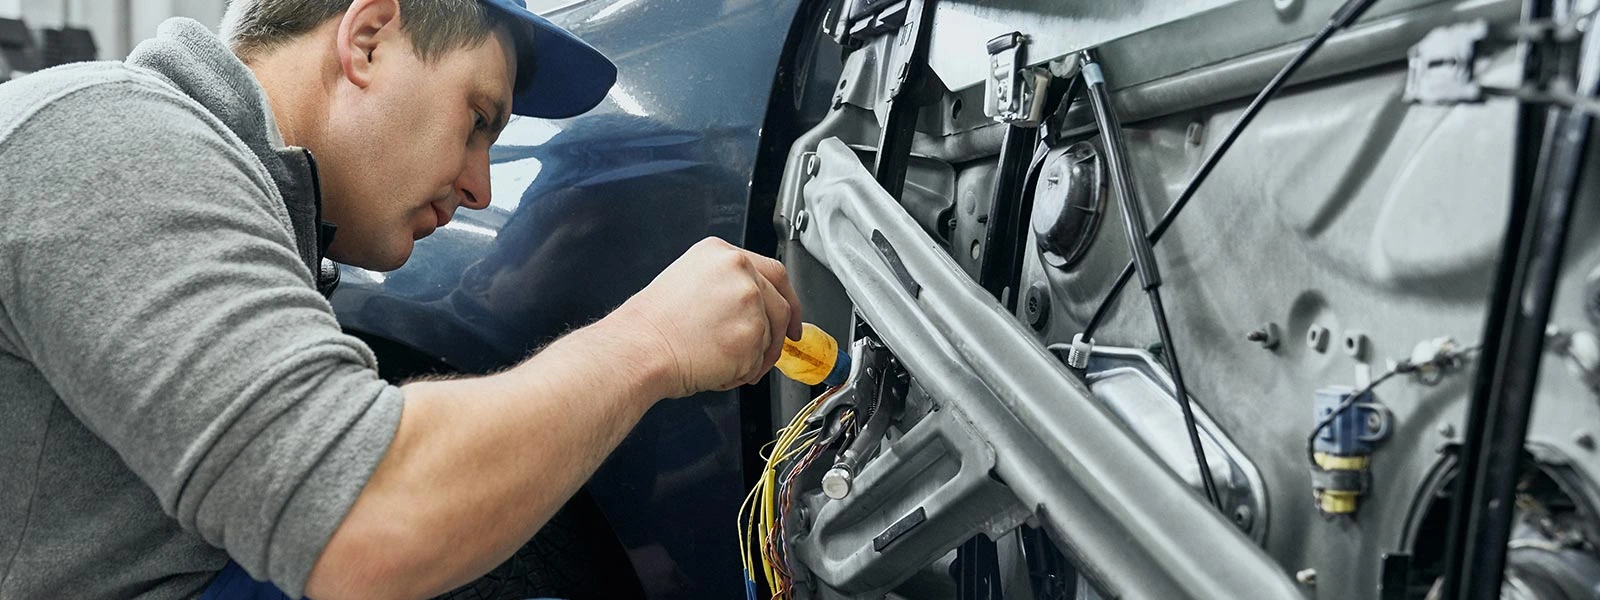
Step 1: Take Off the Panel
The first step is to unscrew all the screws that hold the trim to the door frame. Select a suitable screwdriver for this job. When all the screws are unbolted, you will notice little clips behind the trim, keeping it in place. Gently push them towards you, and you will hear a "pop" sound. Unclip the panel and set it aside. Do not break the clips.
Step 2: Remove the Waterproof Plastic Sheet
When you expose the mechanism behind the panel, you won't be able to see anything because a waterproof plastic sheet will cover it. This plastic wrap is essential to protect the actuator from water during carwash sessions and on rainy days. Carefully take it off because you have to reinstall it again when the work is done.
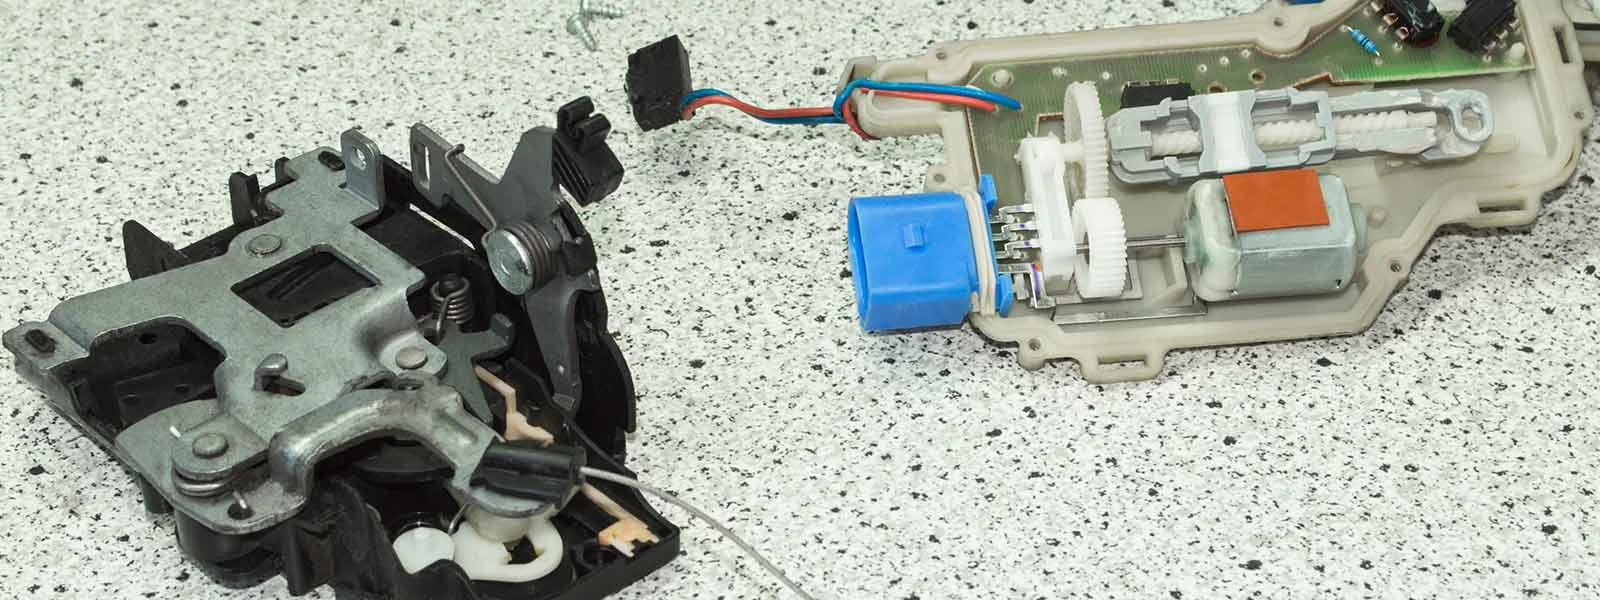
Step 3: Disconnect and Release the Actuator
When the actuator is revealed, you will see that it is fixed into the frame with the help of bolts and rods. Unscrew the bolts and then gently pull the rods out. The actuator will be freely fixed, so gently pull it toward you, and it will come out. It won't fully come out because it would be connected to a black wire. Carefully disconnect the wire and free the actuator.
Step 4: Disassemble the Actuator from The Lock Assembly
Now it's time to disassemble the actuator from the lock assembly by taking off the white cover. To separate that, you need to loosen the screws on both sides. Carefully see these steps, so you don't feel frustrated when you assemble them back.
Step 5: Open Up the Actuator
This will be the real step that will lead you to the motor, so be a little patient. Now, you will need a sharp razor blade and a hammer if it gets a little tough; this will assist you in opening up the actuator. Because this part is made out of a mold in the factory, it is not considered repairable and could be a little tricky to open.
The idea is to take the razor blade and slice the corner outlines and not stop until the razor is through the plastic to the other side on all the sides. Be very careful to not damage any wires or slice your fingers.
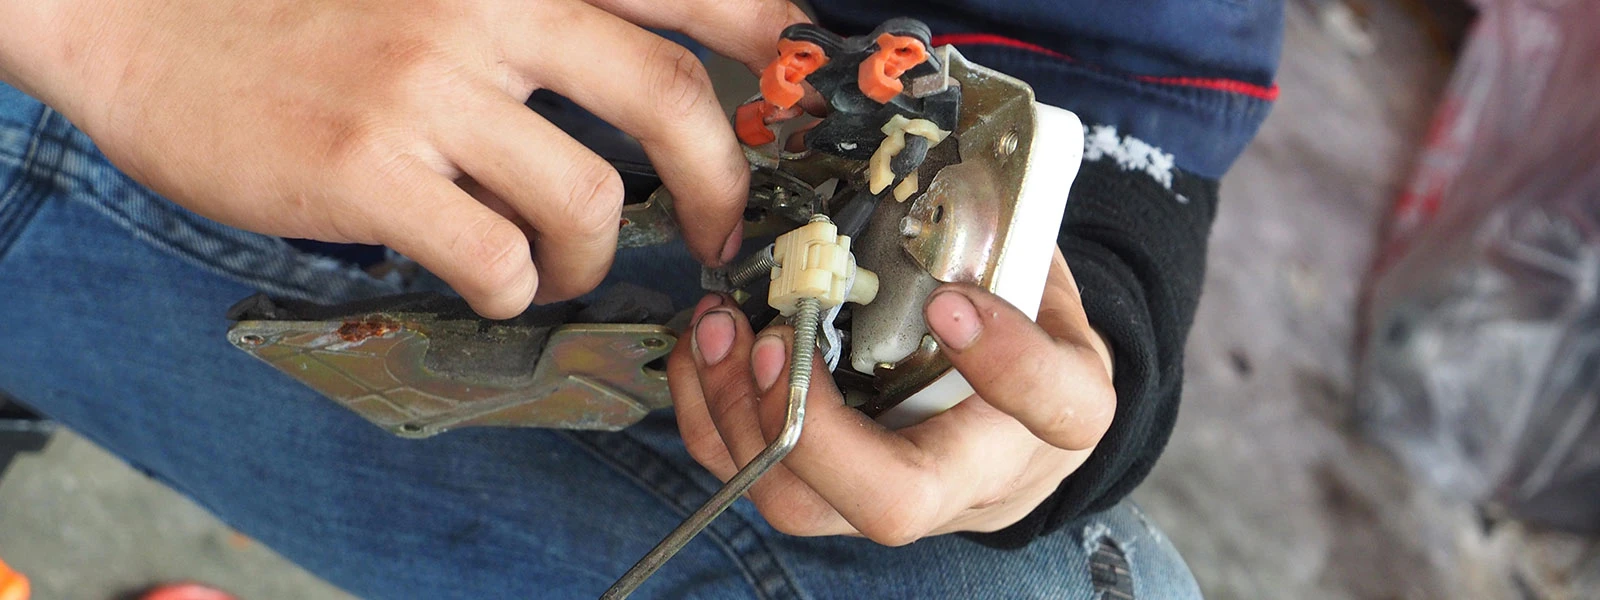
Step 6: Remove the Motor
Inside, you will find the motor fixed at its spot without any wires or bolts besides some gears. Carefully pull the motor out, but before that, note which way the bearing is so that you fix the new motor the same way.
Step 7: Test and Replace the New Battery
If you want to ensure your new battery is working correctly, you need to test it before replacing it. Use some testing wire and connect one end to the motor contact points, and the other should be connected to the nine-volt battery. It is working. Place the new battery in the place of the old one.
Step 8: Reassemble
Now close the actuator you sliced with some super glue and then started to place all the parts together. After putting everything back, test your door lock to see if it's working fine.
Bottom line
Many people test their old batteries and clean them up from the inside. Many batteries start working after a clean-up, but changing that battery with a new one is better. This is because if it has started being problematic, the time it gets bad is not very far. Also, you can’t do all of that tiring procedure again and again just to clean a small motor.
Also, while testing the new motor, do not overwork it, as it will get faulty. When you replace the new motor, do not lock and unlock your car twice a row. With good care, the motor can last several years.