How To Replace Ignition Coil Ford F150?

An ignition coil in Ford F150 and other cars is a part of the engine responsible for amping up the low-volt battery power in your car to enough voltage so that it can easily create a spark in the spark plug to start the engine.
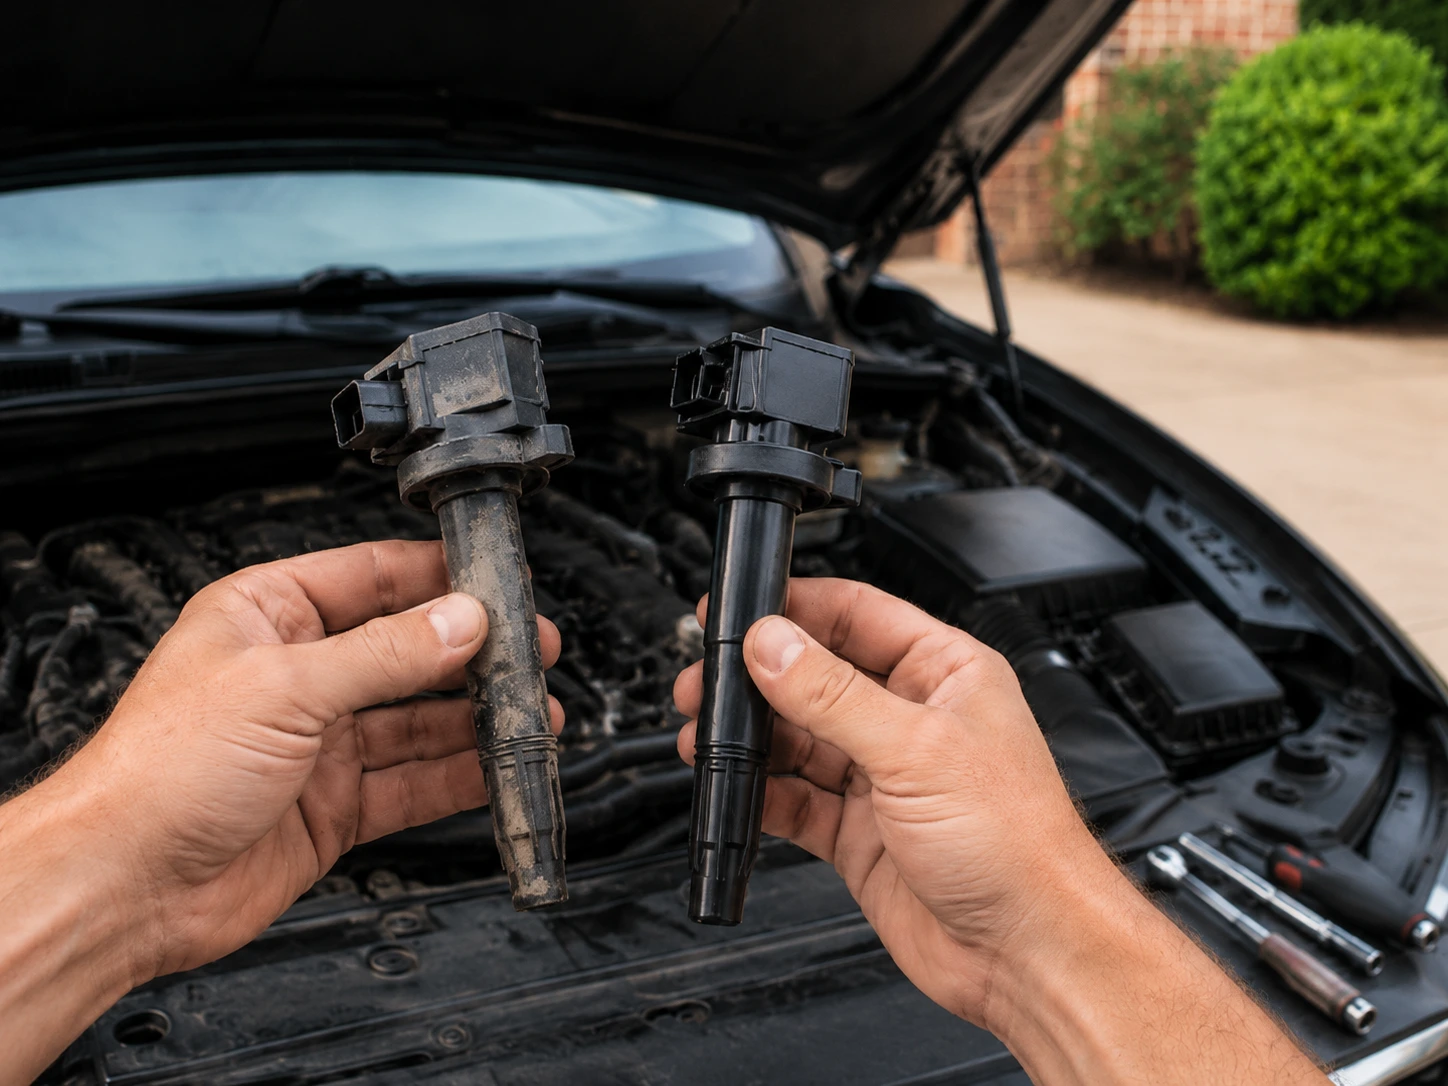

An ignition coil in Ford F150 and other cars is a part of the engine responsible for amping up the low-volt battery power in your car to enough voltage so that it can easily create a spark in the spark plug to start the engine. If the ignition coil in your Ford F150 is not working correctly, you might see some issues with your car.
Your car may start misfiring, backfiring, or sputtering, or you might not be able to start your car at all. This is because the bad ignition coil will not be able to take the voltage high enough to produce a spark for the engine to start working. At this point, there is only one solution – to replace the ignition coil Ford F150.
However, you may be stumped by the prices of hiring labor to do the task. You can also do it at home if you don’t want to hire a service provider to do the replacement work. This only takes a few easy steps. Keep reading to know all the details of replacing the ignition coil Ford F150.

What Is an Ignition Coil and How Does It Function?
Before diving into the replacement steps, you should know more about what the ignition coil is and what it does so you can navigate appropriately around it.
Your car's engine needs the power to fire up and start running. However, the battery in the vehicle is usually 12 volts only, which is not enough for the engine to start up. The ignition coil in the Ford F150 amplifies the voltage to a high enough point where a spark can be produced and the engine can start up.
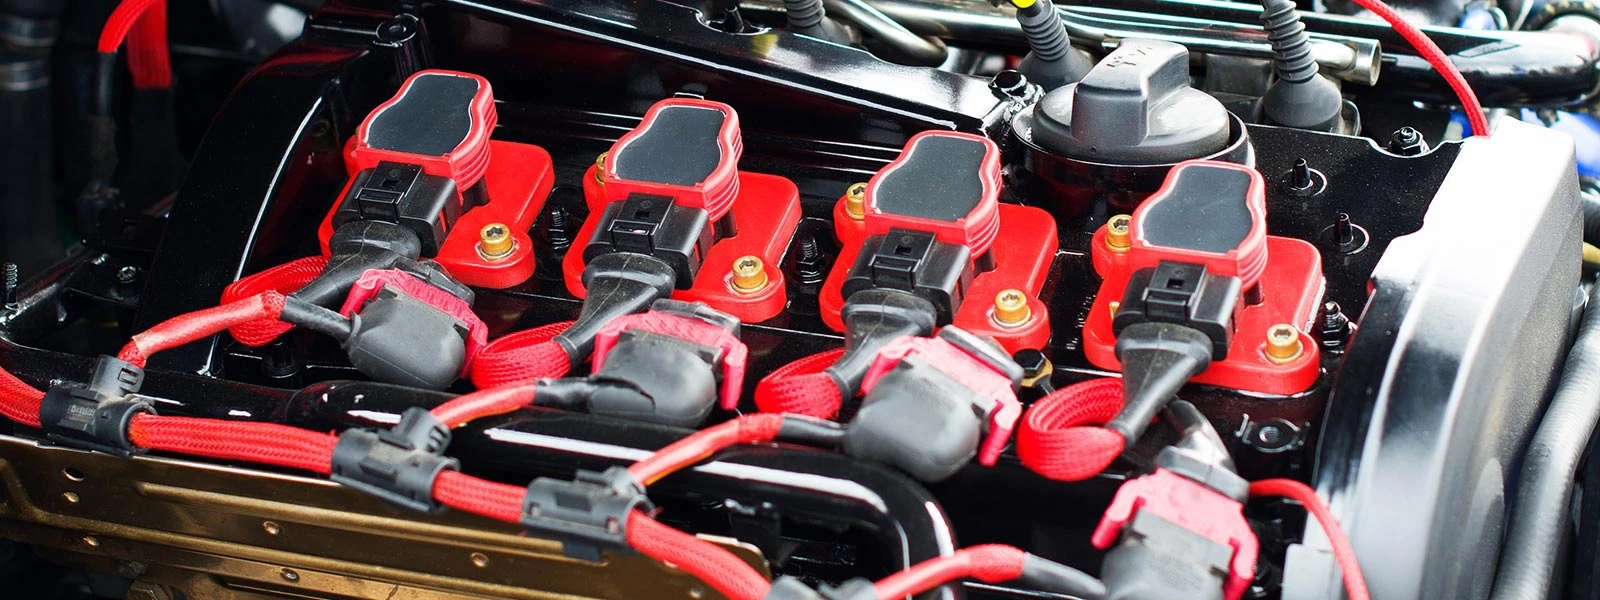
The voltage must be amplified to at least 20000 volts or more which is done by the ignition coil. The number of ignition coils will vary with the make and model of the car as well as their age. In most cases, older cars have one ignition coil for all the attached cylinders, while in most modern cars, there is a separate coil for an individual cylinder.
So, you might have to purchase the new parts according to the model of your car, but the replacement method for the ignition coil in the Ford F150 and all its models is pretty much the same.
When Should You Consider Replacing the Ignition Coil?
The most obvious sign is that the car will not start, or you will find it difficult to fire up the car. This happens when the ignition coils in the car have undergone heat damage. You might not face this issue until the coils are in terrible condition. When the coils start to deteriorate, you might observe some other signs.
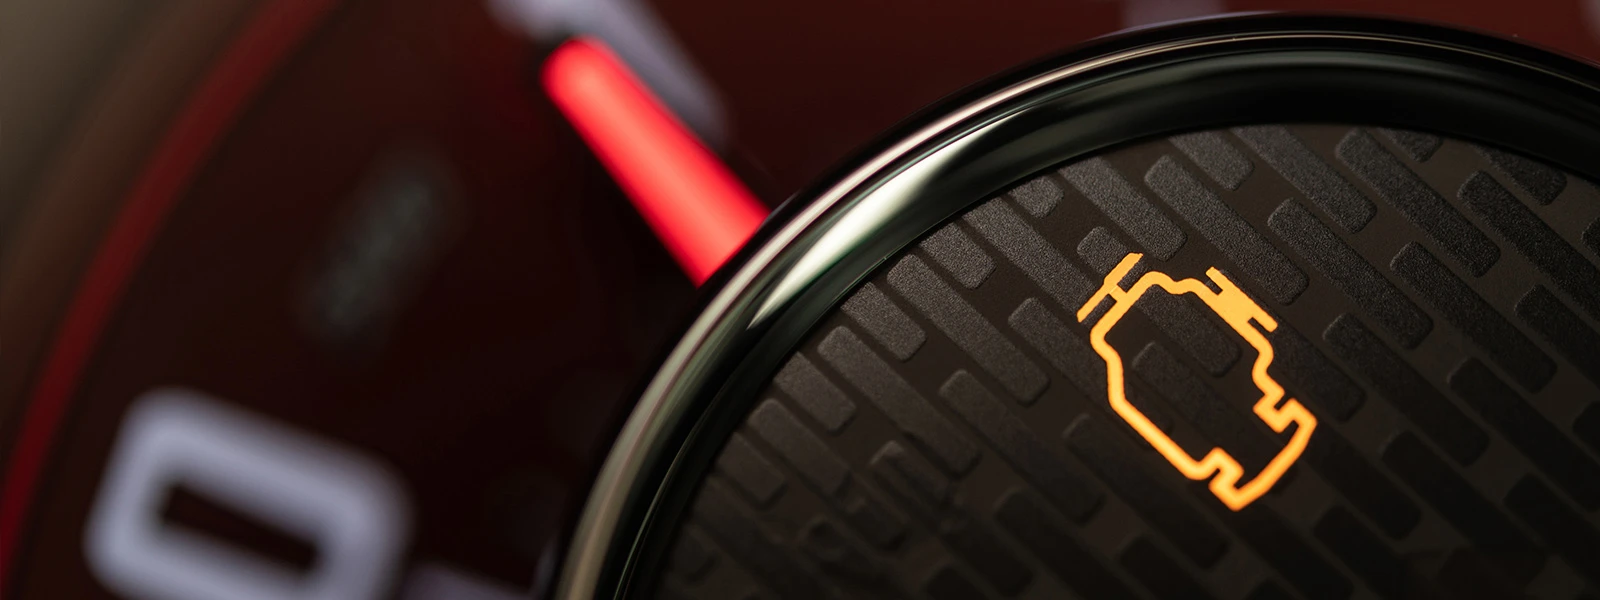
The car might start to misfire, lose power often, and you may have trouble accelerating the vehicle. The check engine light would start blinking, and you will see trouble codes telling you that there is some issue with your car.
If you notice one or more of these signs, there is probably an issue with your ignition coil, and you have to sort it out as soon as possible. To decide whether you need or when to replace the ignition coil, you are always suggested to ask someone professional for help.
How To Replace Ignition Coil Ford F150?
You can easily remove the lousy ignition coil at home without needing help in a few simple steps. Make sure you have all the necessary tools available before you begin to replace the coil.
The overview of the general steps required to replace the coil, which has gone bad, is as follows.
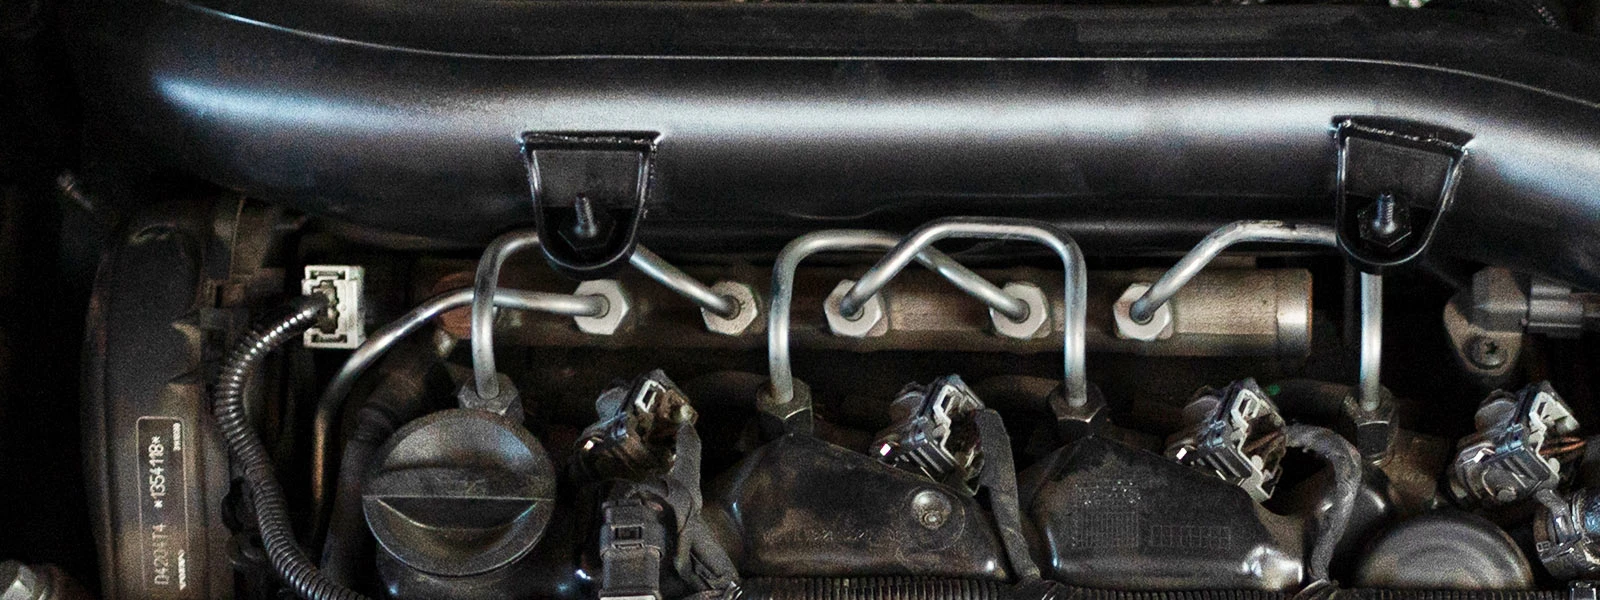
Step 1: Remove the Fuel Rails From Their Place
Take the car to a garage or an open park to carry out the process, making the work easier and keeping the car stable. Make sure to turn off your car's engine before you begin and keep it like that for at least 20-25 minutes. This will give it ample time to cool down. Once the engine is cool, you can begin your task.
The fuel rails in the Ford F150 form the lid or the covering of the ignition coils. They are attached over them through two bolts you need to remove to get to the pack. Use a nut remover tool and take off the bolts. You can discard them as well.
Once the bolts are off, the fuel rails are loose, and you can easily take them off. Keep the lid aside, as you will need it later to cover the coil pack. Now move to the next step.
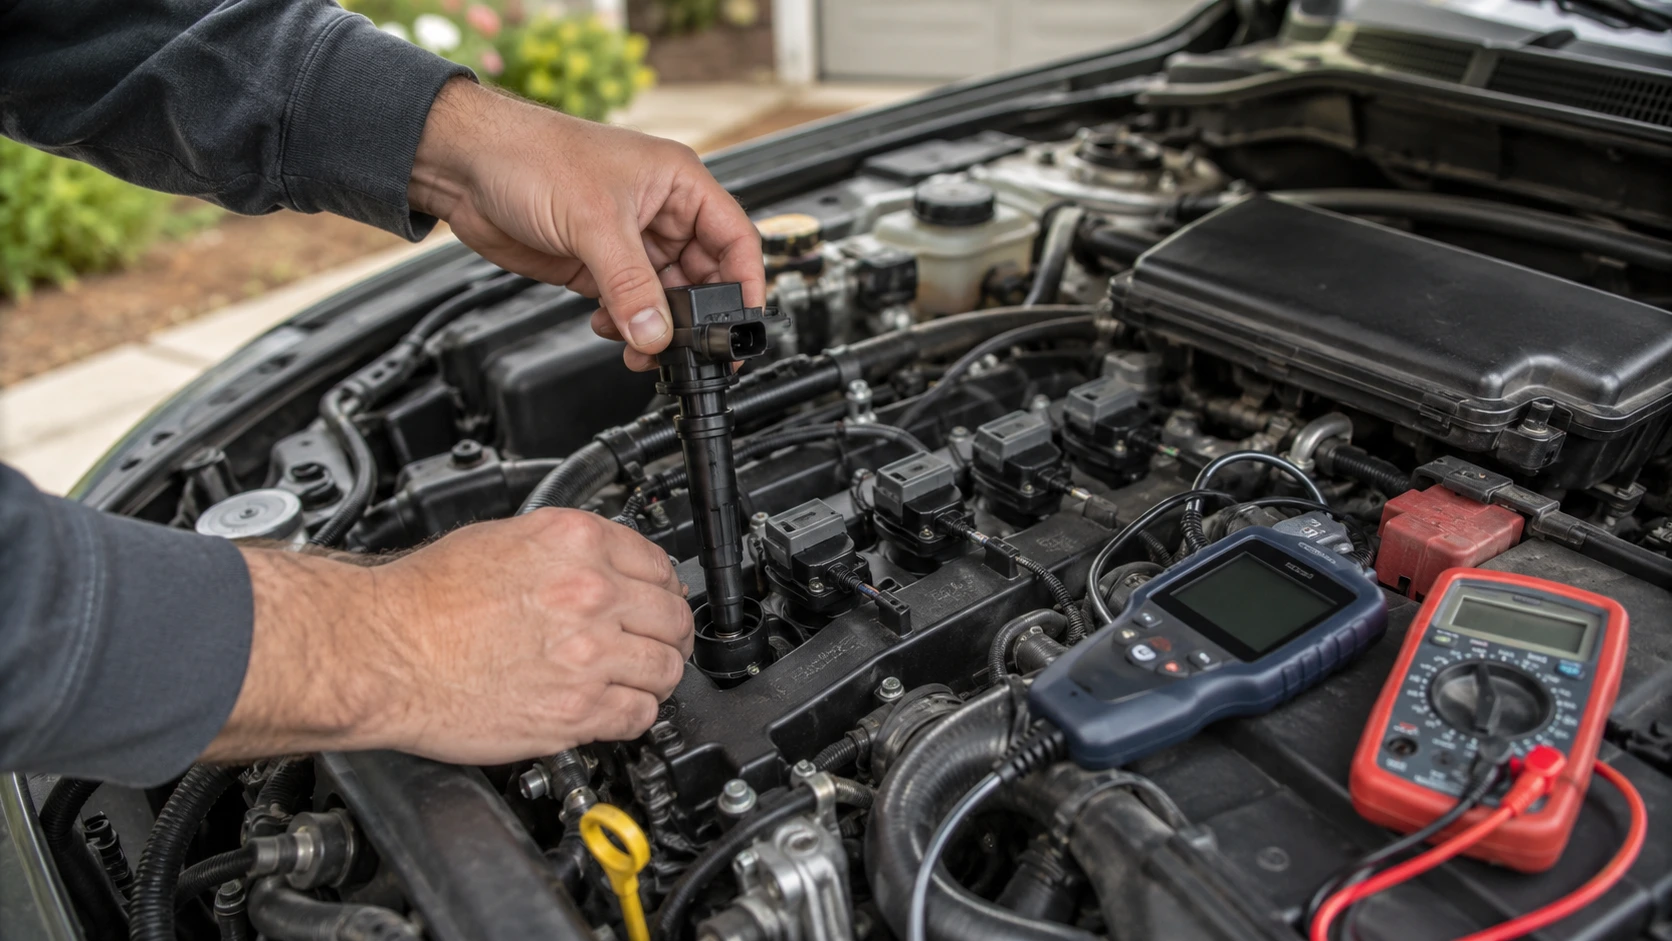
Step 2: Remove the Electrical Connectors Carefully
The Ford F150 ignition coils are connected to many electrical components, and you need to remove these carefully with the help of proper tools. You can start by disconnecting the electrical connector of the ignition coil pack. For this purpose, use a wrench or the connector puller tool.
Be gentle with your movements and keep all rotations in the anticlockwise direction. Once the electrical connectors are off, keep them aside safely, as you need to use them later.
Besides the electrical connector, a bolt connects the coils to the rest of the parts. You will have to disconnect that too. After you have detached the bolt, you can remove the coil pack. Do check the condition of the coil pack when removing it.
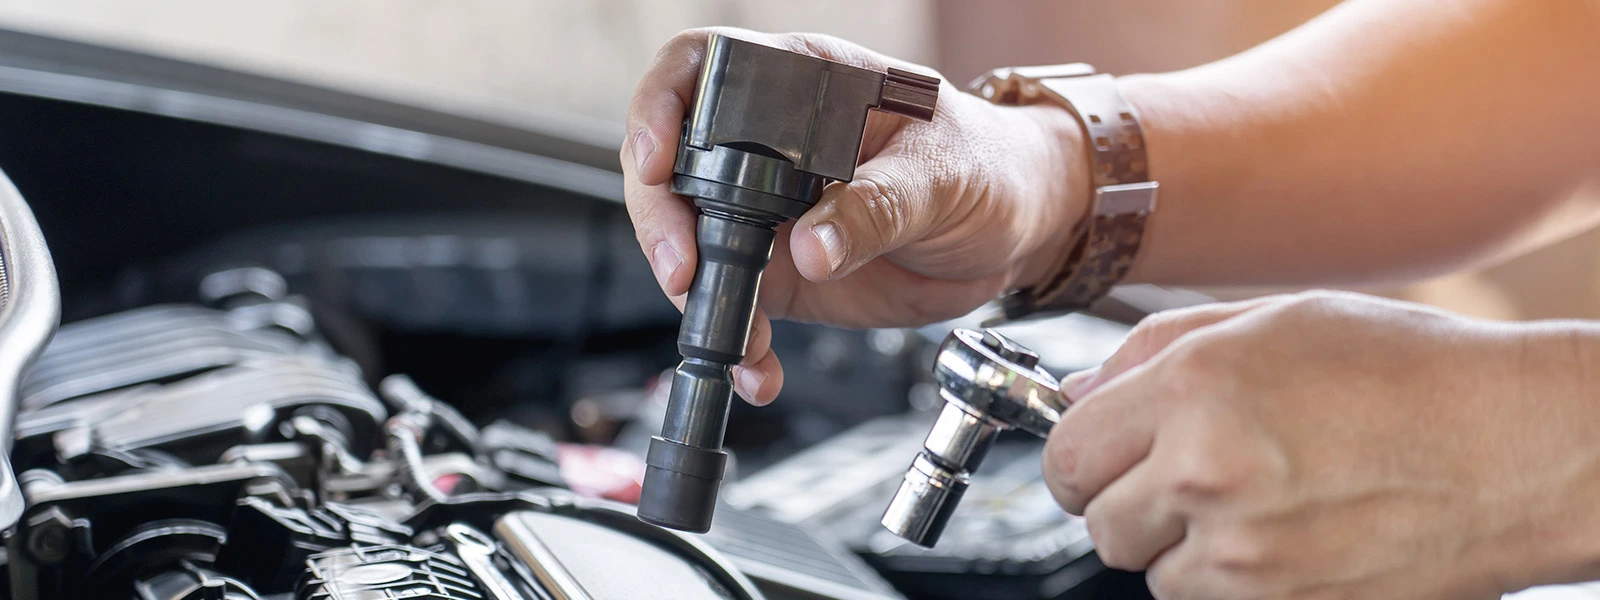
Step 3: Remove the Bad Ignition Coil Pack
Removing electrical connectors is more accessible than removing the bad ignition coil pack. You may even find it a bit tricky. This can be a bit challenging as several coils are in one spot. You have to remove each of the coils from the connecting plugs.
To perform the unplugging process manually, you can use a twisting tool. The twisting makes it easier to disconnect the coils. Use the tool to disconnect the upper part of the first coil. Keep moving the twisting action of disconnecting the coils to all the ignition coils. Move to the second one and do the same as with the first one. In the same way, detach all the coils and discard them to the side.
Do not use similar coils while replacing the parts, as it can lead to severe vehicle issues.
After you have removed the bad ignition coil pack, make sure to clean the exposed surface thoroughly. This will ensure that there are no dust particles or other stuff left behind in the ducts. It will also make the process of installing the new ignition coils easier.
Use a soft brush with no harsh bristles and rub one area that needs cleaning.
Step 4: Replacement of The New Ignition Coil Pack
After removing all the connectors and coils from the engine, you must install the new pack. It comes with easy installation steps, and if you face any issues, you can contact the experts. Follow all the steps carefully and don't rush or skip some.
Connect one coil after the other and don't skip and move on to the next one without connecting the previous ones. The new pack will have its connectors and plugs. Follow the series in order, then connect the plugs and connectors.
You can use the wrench and connector tools to adjust the components that hold the coil pack in place. Once everything is changed, use the twisting wrench to tighten the bolts.
Step 5: Reinstall the Fuel Rails
Now put the fuel rails back on the coil pack and push them in. Add all the screws on and tighten them one by one.
What To Keep in Mind When Replacing An Ignition Coil?
Before replacing the car's ignition coil, you should keep a few points in mind. The bad ignition coil may be due to some fault in the spark plugs or the wires, so you might have to replace the faulty engine components.
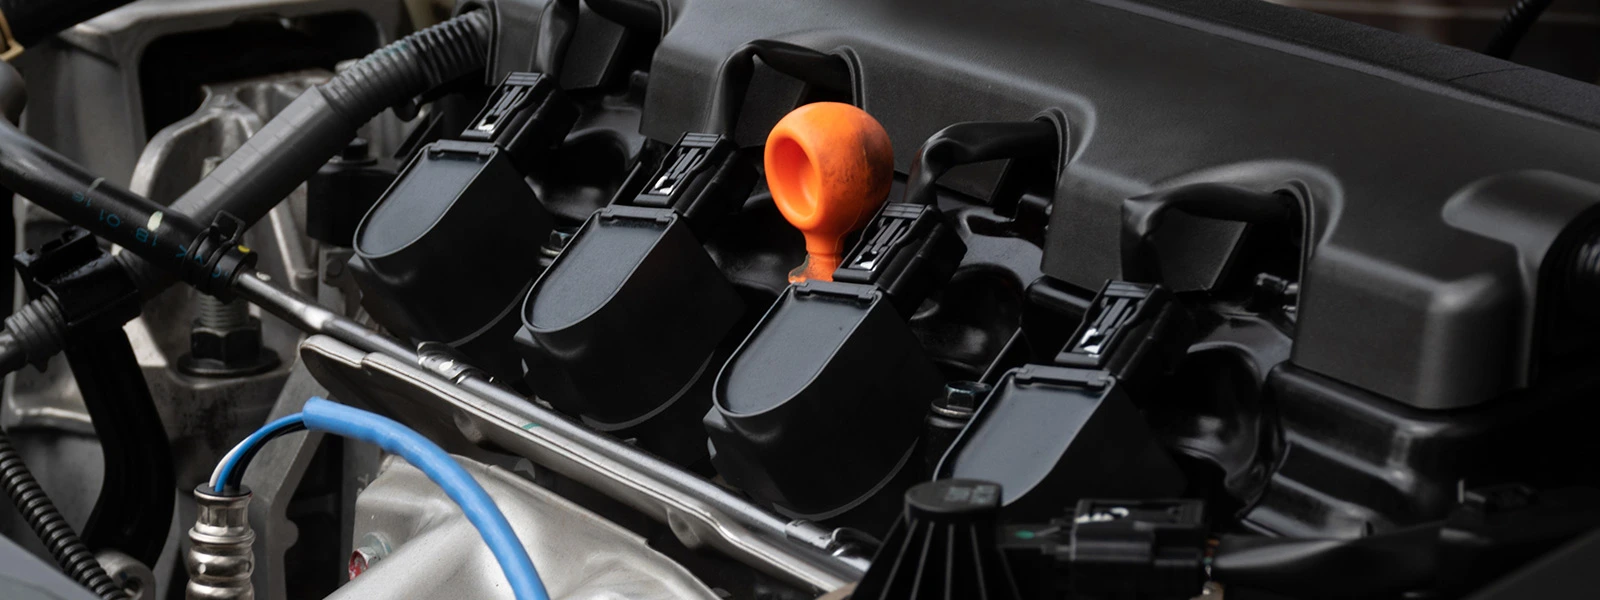
The modern car engine uses the coil-on-plug setup where multiple plugs are used, one for each cylinder. In this case, you should remember that if only one of the coils is at fault, there is no need to replace the entire pack or all the coils. Replacing just the bad coil will put the car on track again. You can leave the functioning ones in their place.
If the ignition coil is placed in the distributor in your car, the better option is to replace the entire distributor of the car instead of just the faulty coil. This option will cost you less than the other one.

Conclusion
If you follow all the above-given steps carefully, you will be done in no time. Make sure to go through all the steps and not skip over them. Have all the required tools ready for you beforehand so you won't face any hindrances.
Remember, the cost will vary according to factors like the make and model of the car. Do you research what coil pack you need and where to get it from? The DIY replacement process is easy, and you can save money at home.
Make sure to stay calm throughout the process.