How to Replace the Door Lock Actuator

A door lock actuator is specially made for the people of the modern era and to bring as much ease into their lives as possible. They are designed to diminish the need to lock and unlock the car door by hand. This actuator, with the help of a small motor,
A door lock actuator is specially made for the people of the modern era to bring as much ease into their lives as possible. They are designed to diminish the need to lock and unlock the car door by hand. With the help of a small motor, this actuator moves the locks along a set of mechanical gears. This motor inside the actuator can be activated using many different methods.
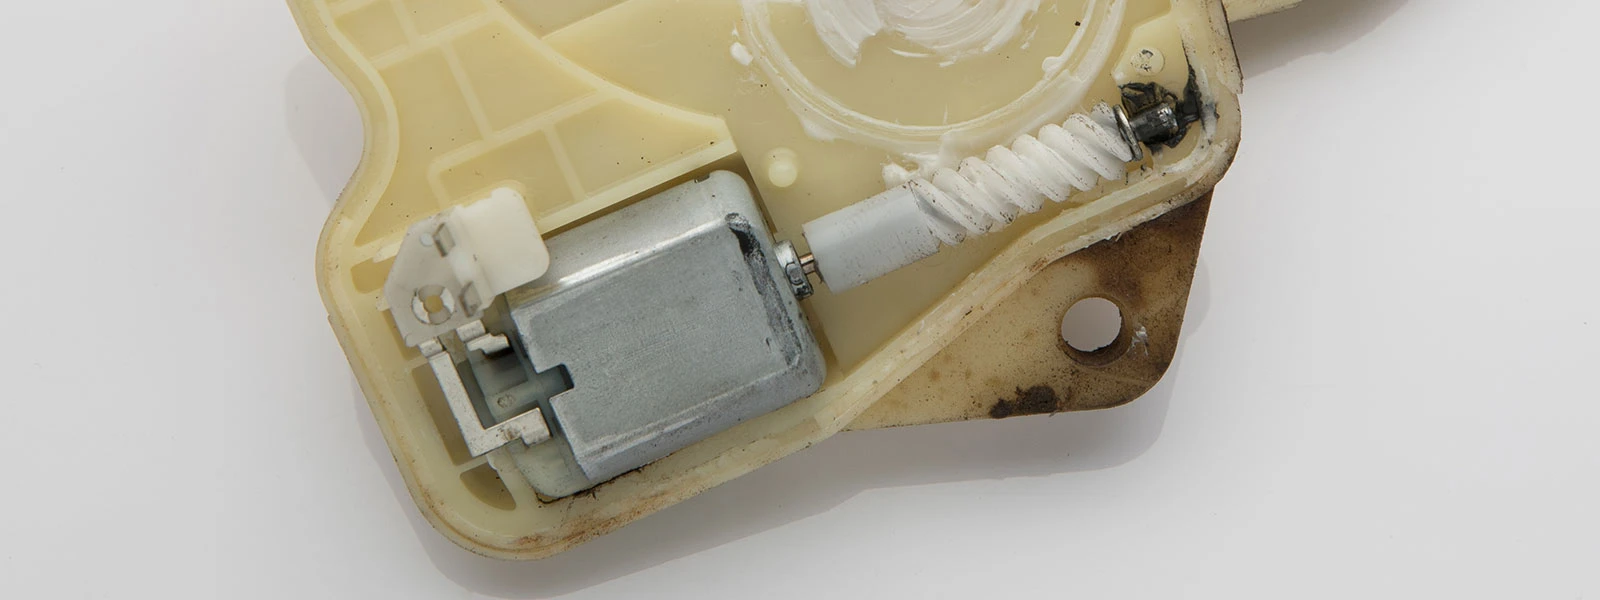
Although this small machinery makes our life very smart and convenient, it is a machine. And so, this is a widespread occurrence. The most common reasons why door locks stop working include a bad or broken motor, damaged wires, or a broken actuator.
This article will teach you how to replace an actuator in detail and step by step. By following them closely, you can replace them at home in your garage. So, let's get straight to it!
Door Lock Actuator Replacement
Replacing a car’s lock actuator requires several steps and some hard work. There could be different steps for different models and companies because some car manufacturer assembles their actuators differently, but the basics remain the same.
The replacement of the car door actuator involves unbolting and unscrewing nuts and screws from the metal sheets and the plastic trim, detaching and attaching electrical wires and battery connections, and separating the internal door panel. Some car models require moving away from the window track.
Why is the Replacement of a Door Lock Actuator Important?
The actuator holds the most important duty to lock and unfasten the doors. When this vital machine stops working, there is no more extended communication between the switch of the door lock and the lock itself.
Although a faulty actuator does not affect the functioning of any car in any possible way, it's safe to drive around with a broken actuator. It means you must lock and unlock your doors by hand every time you exit your car.
If you don’t have any problem driving around with this problem and you can lock your doors manually, you can go on without getting your actuator replaced. But ensure that you keep your doors locked, so they don't open in accidental situations and for security purposes. On the other hand, if you think that automatic lock and unlock, car alarms, and lights connected to the actuator are valuable features. You use these a lot, and then you should get your actuator immediately replaced.
Step-By-Step Guide to Replacing the Door Lock Actuator
Following are the steps for the replacement of a door lock actuator. Follow these steps closely:
- Step 1: First, fully roll up your vehicle's windows and then disconnect the batteries.
- Step 2: Grab a tool made to pull out the panel. This could be different for every vehicle, so make sure you buy the one that suits your vehicle type. Then gently detach the interior trim off the door. Be careful while taking out the grill so that you won’t break anything or lose any screws.
- Step 3: Start looking for the screws in the inner door handle, by which the trim of the door frame is being held firmly in place. Other very common places at which you can find bolts and screws are:
- Door handle pulls
- Speaker trim plates
- Bottom of the cup holders
- Behind mirror
- Bottom-edge of the door trim
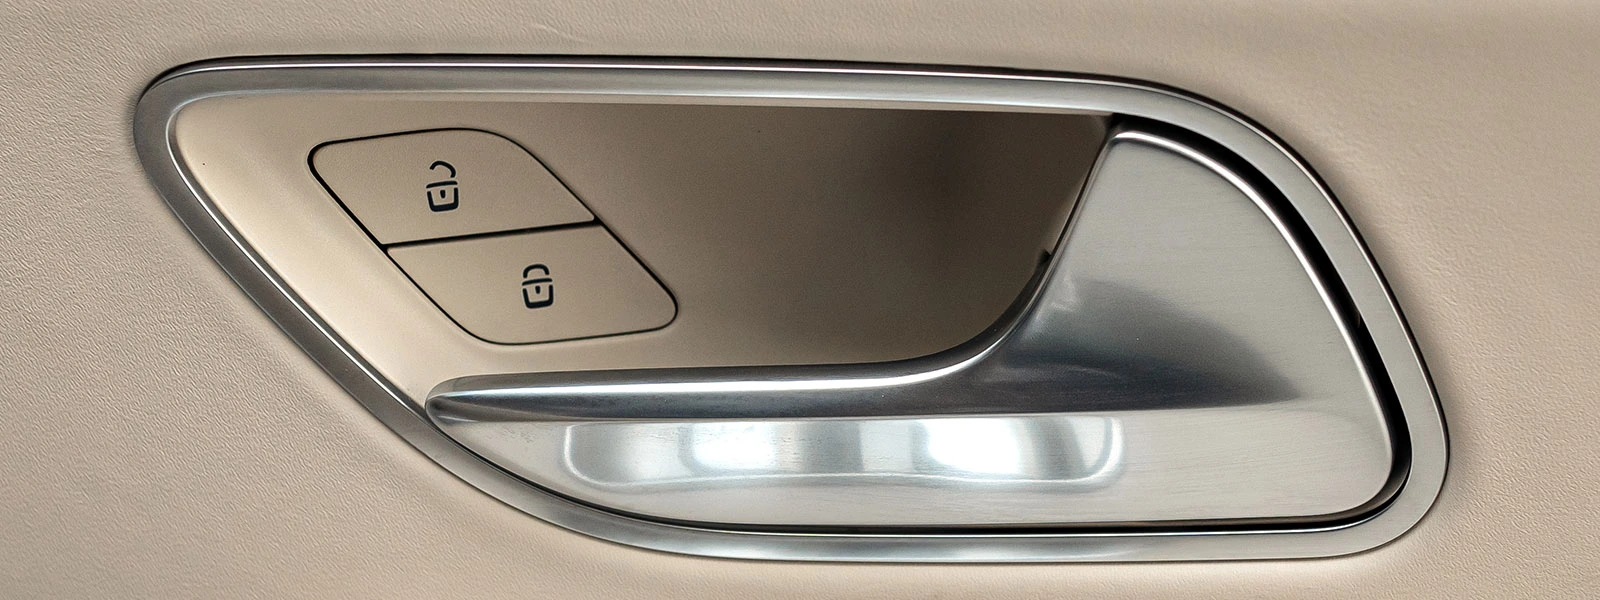
- Step 4: Using a suitable screwdriver or a thin trim tool, lift the switch plate and expose the area where the lock buttons and electric window are situated. Set the trim frame at a comfortable angle and start disconnecting the wires.

- Step 5: Remove the trim of the frame completely after safely disconnecting the wires. Use the screwdriver and start unscrewing the bolts from the bottom. Also, there will be little clips that will need a little push to come off. But as you do this step, be careful and gentle to not break any of the clips.
- Step 6: When all is unscrewed and unclipped, grip the trim firmly with your hands and gently pull it towards yourself. Then you have to lift it a little, so it glides up and out of the frame.
- Step 7: After you get the trim off, the insides of the door will be exposed to you. There you will be able to spot a plastic water shield. As the name suggests, it saves the delicate door actuator machinery from getting wet and thus ruined. So, hold it gently and slowly take it off of the seals. If it is damaged or torn apart, you will not be able to use it again.
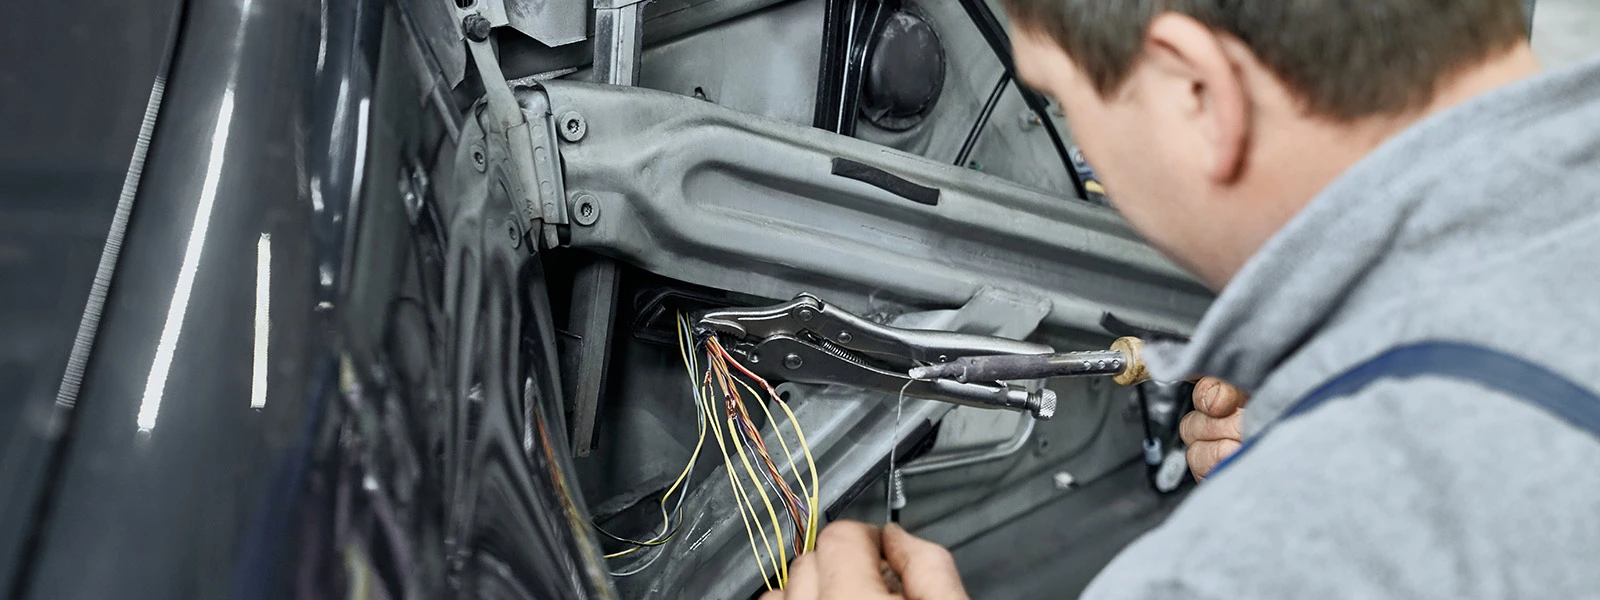
- Step 8: Now, spot the actuator bolted by the door latch to the inner side of the door frame. First, you need to detach the electrical plug, which supplies power to the actuator. It is not very tightly bound and will come off easily with the help of your hand.
- Step 9: Next, unscrew the Torx head bolts that firmly keep the actuator in place inside the frame of the door. This step will cause the actuator to become loose, but there will still be two rods that will hinder taking the actuator out. The rods will slide out with a little pull, freeing the actuator. Take it out and before moving any further, look at the electrical connectors for any damage.
- Step 10: It’s time to put the new actuator in place of the old one. Make sure you set it just like the old actuator was set in place so the rods can easily pass through it. Once it's set in the right place, use the Torx bolts to tighten it down.
- Step 11: You might want to test the newly fitted actuator at this stage so that you don't get the bad news when you have covered all of it up. Check the locking and unlocking systems with the help of the manual lock button in the interior. You will know if you fixed it right and if it is working properly.
- Step 12: Now, for all the electrical connections that you disconnected, it's time to reattach all of them properly. After this, put back the water shield and the access plate like before. Reconnect the battery and perform a test to make sure it's working.
- Step 13: if the actuator is working properly, put the trim back in its original place, clip it back carefully and tighten the screws.
- Step 14: Test the actuator with its remote control when all the process has been done. Suppose it works and isn’t making any noises. Good job! You have replaced a door lock actuator successfully.
For more info, please refer to How to repair a door lock and How to replace door lock actuator motor
What Is the Cost of An Actuator Replacement?
If we look at the average replacement cost for most vehicles, it is known to be almost two hundred dollars more or less. If you calculate the cost more precisely, most dealerships charge about 100 dollars an hour. Nobody can say anything because you can receive a different bill for each vehicle. Some dealerships may also offer an excellent discount to lower the estimated amount.
For other related info, please refer to How much does it cost to repair a door lock actuator, What is a door lock actuator, and Several ways to troubleshoot your door lock actuator

Can You Replace a Door Actuator on Your Own at Home?
When the question arises of replacing the actuator at home, the answer is yes, you can. Anyone can do it, even if you know a little about the basics. You can get help from various guides available on the internet. Many guides can be about the model you own, making understanding the procedure easier. These guides can help you give tips and walk you through cheap processes. You just have to go to the market for a new actuator and some tools. This can save you some bucks as well as time.
Conclusion
As stated above in the article, replacing a door actuator is unnecessary if yours have broken. But it can be unpleasant to lock all the doors one by one as you exit your car. It could compromise your safety and security if you forget to lock even one of your car doors. Several personal things in the car can get stolen, or your car can someday get stolen. Secondly, if your car is unlocked while you drive, it can be highly hazardous because your door can open if you get in an accident. Finally, features like a car alarm and after-lock lightning won't work with a faulty actuator. It is advised that if your car has a broken actuator, you replace it or replace it yourself at home. Convenience is only a convenience when it's working. Otherwise, it's just a burden.