5 Essential Considerations Before Your Next Brake Rotor Change

Changing brake rotors is vital for maintaining braking efficiency and safety. Worn or warped rotors can cause vibrations, reduce braking power, and increase stopping distances, leading to potential accidents.


Maintaining your vehicle’s braking system is not just about performance; it is a critical safety requirement. As a driver, you may engage your brakes over 200 times a day. This frequent use means brake rotors (also known as brake discs) act as the backbone of your safety, managing the intense thermal dynamics required to stop your car effectively.
Identifying the Need for Brake Repair
Recognizing common signs of wear early can prevent damaged parts from causing a total system failure. If you notice any of these warning signs, it’s time to consult a mechanic or prepare for a brake rotor change:
-
Vibrations and Shaking: If the steering wheel or brake pedal shakes during deceleration, it often indicates a warped rotor surface.
-
Audible Squeal or Grinding: A persistent squeal often means the pads have reached their wear limit or the rotors have surface irregularities.
-
Pulling to One Side: If the vehicle swerves to one side when braking, it may signal issues with the calipers or uneven rotor wear.
-
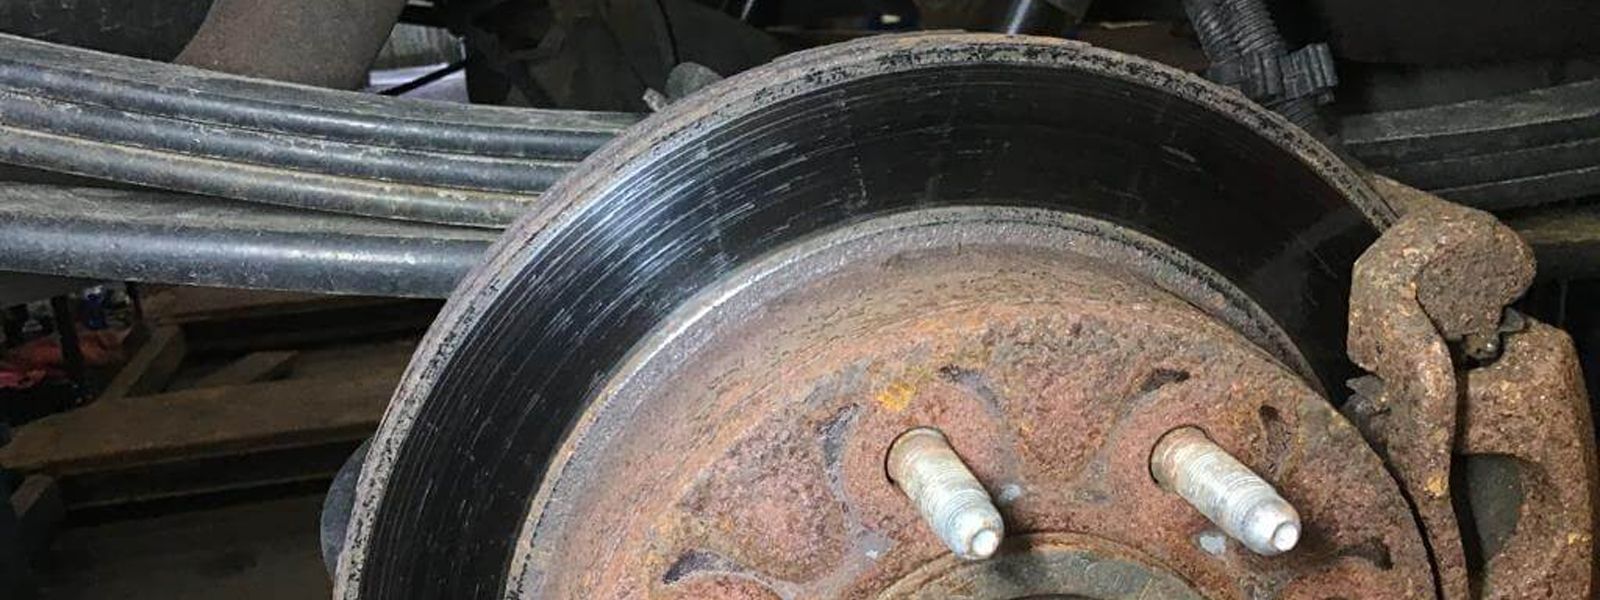
Visible Damage: Check the wheels for rust, deep scoring, or thin surfaces on the rotors.
Step-by-Step Guide to Replacing Brake Rotors
For those opting for a DIY approach rather than seeking expert care from technicians, follow these steps to ensure a successful installation.
1. Preparation and Safety
First, lift the vehicle using a floor jack and secure it firmly with jack stands. Never work on a car supported only by a jack. Engage the parking brake and use wheel chocks for added security.
2. Access the Braking System
Remove the wheel to gain access to the calipers. Unbolt the caliper and set it aside carefully—do not let it hang by the brake line, as this can lead to leaks. This is also the ideal time to replace worn brake pads with new pads.
3. Remove and Replace the Rotor
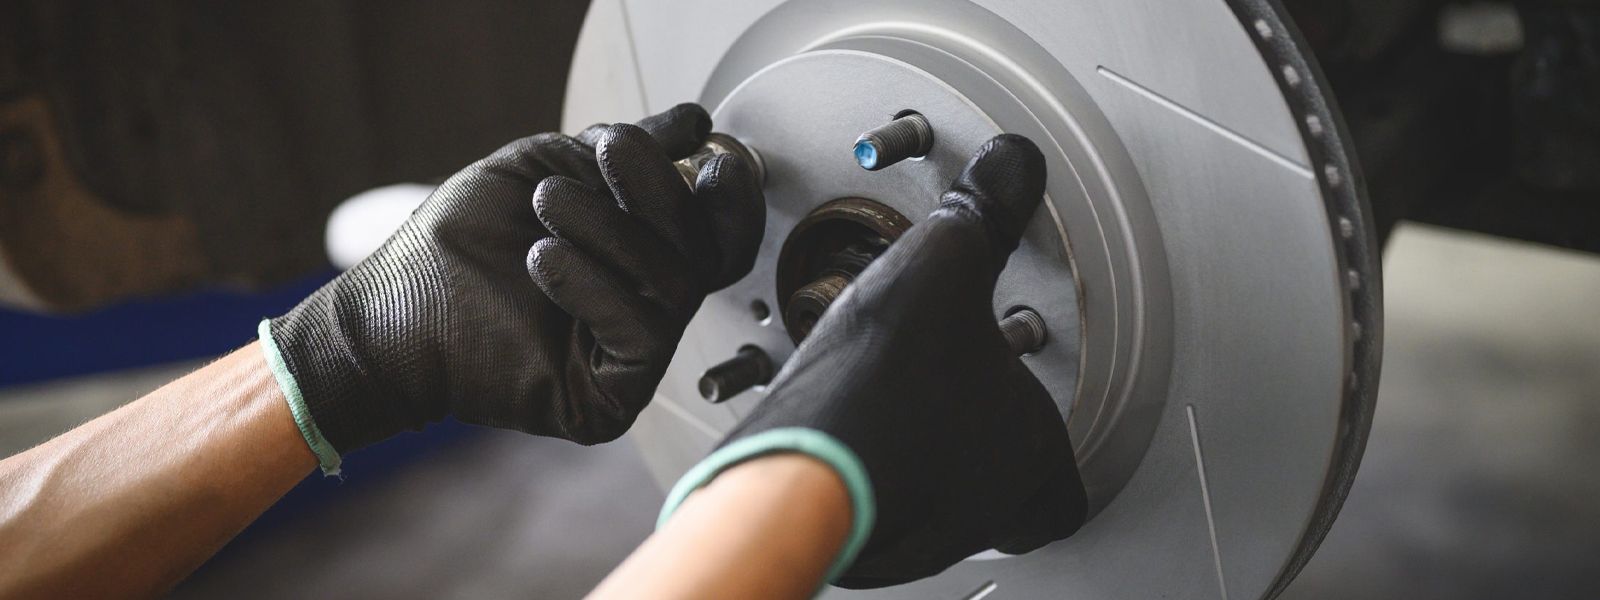
Remove the bolts holding the old rotor in place. Before installing the new unit, clean the hub surface to remove any rust. Use brake cleaner to strip away the protective oil coating and any metal particles from the new brake pads and rotors.
4. Reassembly to Manufacturer Specifications
Apply a thin layer of lubricant to contact points. When you install the new components, use a torque wrench to tighten all fasteners to the exact manufacturer specifications. Proper torque is vital to prevent the rotors from becoming warped prematurely.
5. Final Testing and Maintenance
Once installed, pump the brake pedal to connect the new pads with the rotor surface. Take a short test drive to check for unusual noises. Remember that moisture buildup in brake fluid can cause internal corrosion; therefore, a brake fluid exchange is recommended every 2–3 years to maintain the braking system.
Why You Should Replace Pads and Rotors Together
While resurfacing is an option for some, installing new brake pads alongside new rotors is the gold standard. Old pads may not mate properly with a fresh rotor surface, leading to reduced confidence in your stopping power and increased labor costs later on. Replacing all four wheels simultaneously ensures uniform braking and balanced wear across the vehicle.
Parts You May Need


Upgrade with A-Premium Quality
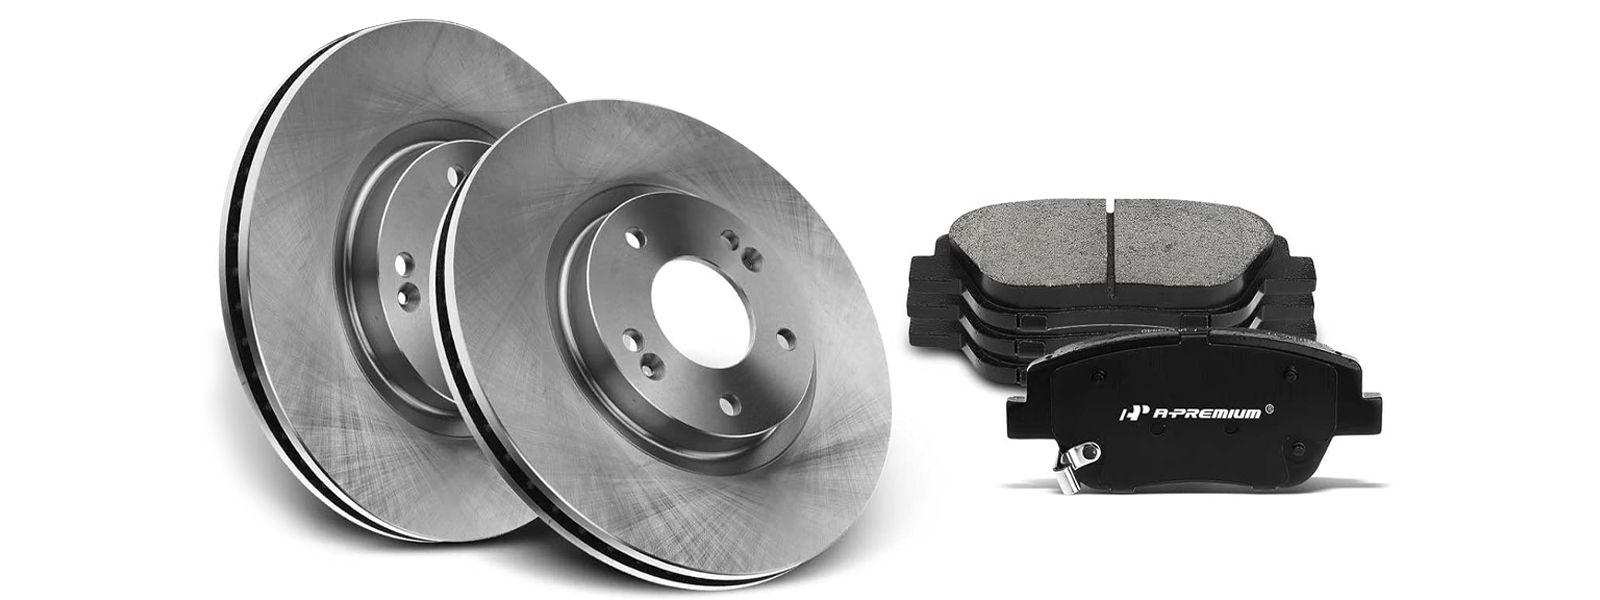
A-Premium brake rotors are engineered for durability and precision. Manufactured from robust cast iron, they meet or exceed manufacturer standards for weight and strength.
-
Fast Shipping: Parts are often dispatched within 24 hours.
-
Reliability: Our products come with warranties for your peace of mind.
-
Expert Advice: Consult with our technicians online to find the right fit for your owner manual requirements.
Don't wait for your brakes to fail. Schedule your maintenance and take advantage of a free brake inspection today. Visit A-Premium to view exclusive coupons and content tailored to your vehicle's needs.


