How to Replace Front Brake Caliper on Ford F-150

Does your ford f150's inability to slow down or stop as first as it did when new bother you? Then the problem might be the brake calipers. All mechanical parts of a truck need regular maintenance to uphold their functions.
Does your Ford F-150's inability to slow down or stop as first as it did when new bother you? Then the problem might be the brake calipers. All mechanical parts of a truck need regular maintenance to uphold their functions. The braking system is a vital part of every car, any malfunction can cause extreme damage to it and yourself. Prompt replacement is necessary, especially for brake calipers.
Brake calipers, together with the components within them as some of the most complex working parts of a vehicle. The front brake caliper and back brake caliper are usually very durable. However, due to constant use, wear and tear are evident after an extended period. At this point, you must change the brake calipers yourself or have a professional do it. The replacement process can be challenging, so this extract explains how to replace the front brake caliper on a Ford F-150.
A guide on how to change the front brake caliper
You can use whichever kind of brake caliper as long as they fit the car model and year of production. Some calipers are rebuilt, while others are remanufactured. Some car users are generally inclined to rebuild because they are less expensive and require only hand tools and air supply. However, you can find good deals for remanufactured brake calipers, so rebuilding the existing ones wouldn't be necessary. You need various materials to facilitate the replacement. For more, please refer to A guide to brake caliper system for automotive
Materials you need to replace front brake calipers
New front brake calipers and brake pads. Note that you only need new brake pads if the old ones are completely damaged. Also, some calipers come with pads, so you don't need to purchase them separately.
- A floor jack to lift the car for easy access
- Tire iron
- C-clamp
- Jack stands
- The brake fluid, in case of any leakage
- Brake bleeding tool
- Socket wrench kit
Front brake caliper replacement Steps
To start the process, you must remove the old front brake calipers to create room for the new ones. To do this:
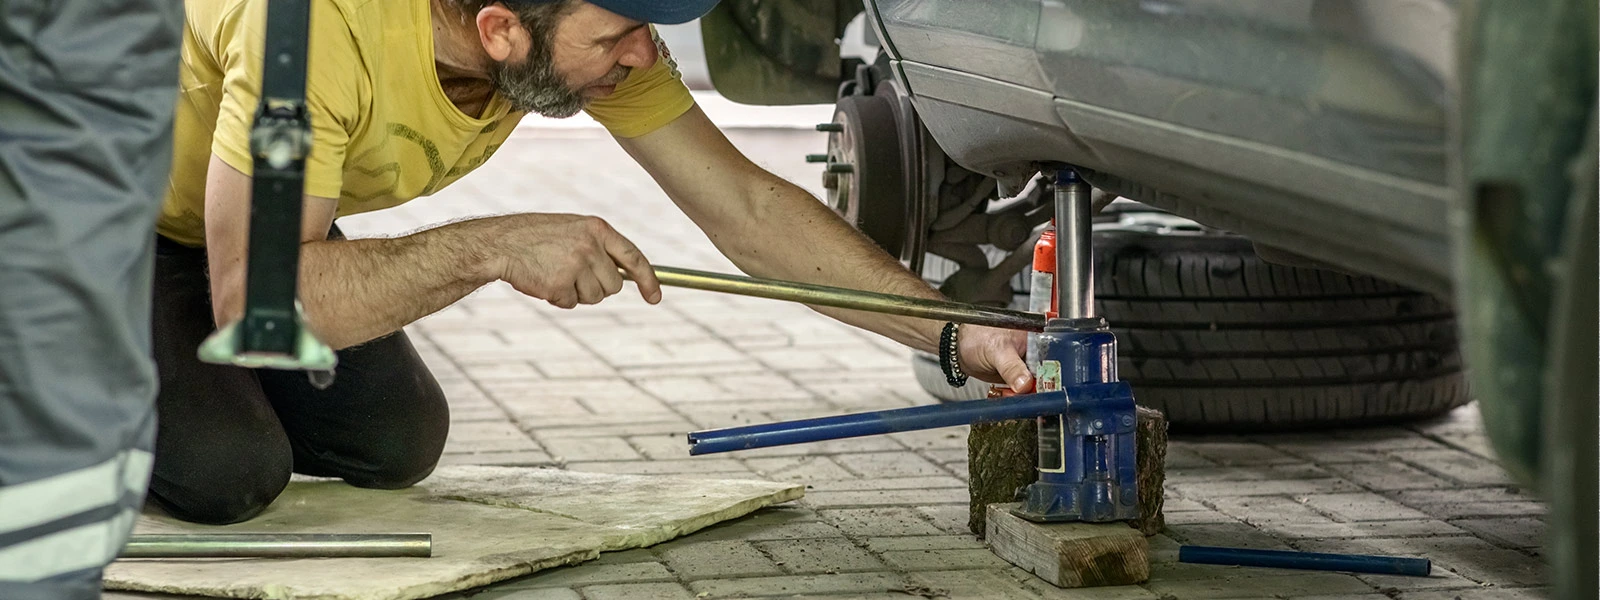
Lift the truck to reach the front wheels
The wheels have lug nuts that keep them in place. Loosen the nuts but don't remove them until you raise the truck. Using a floor jack, lift the car to your desired height. Ensure it is high enough for you to work on the calipers comfortably. Once raised, use jack stands to secure so the car doesn't move. Proceed to remove the lug nuts on the wheels, then remove the wheels from the vehicle.
Take out the brake line
Decide whether you want to reuse the brake line or discard it entirely. If you wish to replace the line, use a C-clamp to pinch the brake line to limit fluid leakage. If the hydraulic fluid leaks, the situation is quite messy, and you want to avoid that. These flexible brake lines are durable and can last up to ten years before you replace them. However, cracks can permeate the surface, in this case, early replacement is necessary.
Reusing the brake line is a good idea and helps save money. But its removal and fixing isn't a simple task. You need to be swift to stop the brake fluid from leaking. Once you disconnect it from the caliper, the fluid rushes out, so you must try eliminating the spillage as fast as possible. Unfasten the brake line and remove it with a standard wrench to avoid destroying the fitting. Using a pen cap, plug the brake line back in to limit the fluid loss and the introduction of air.
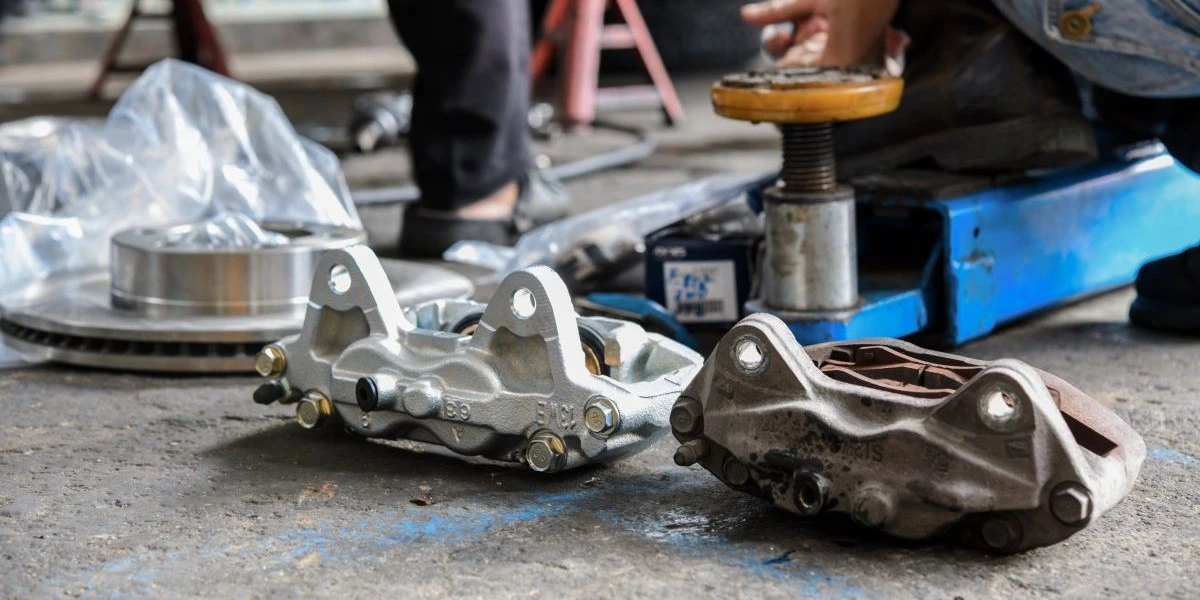
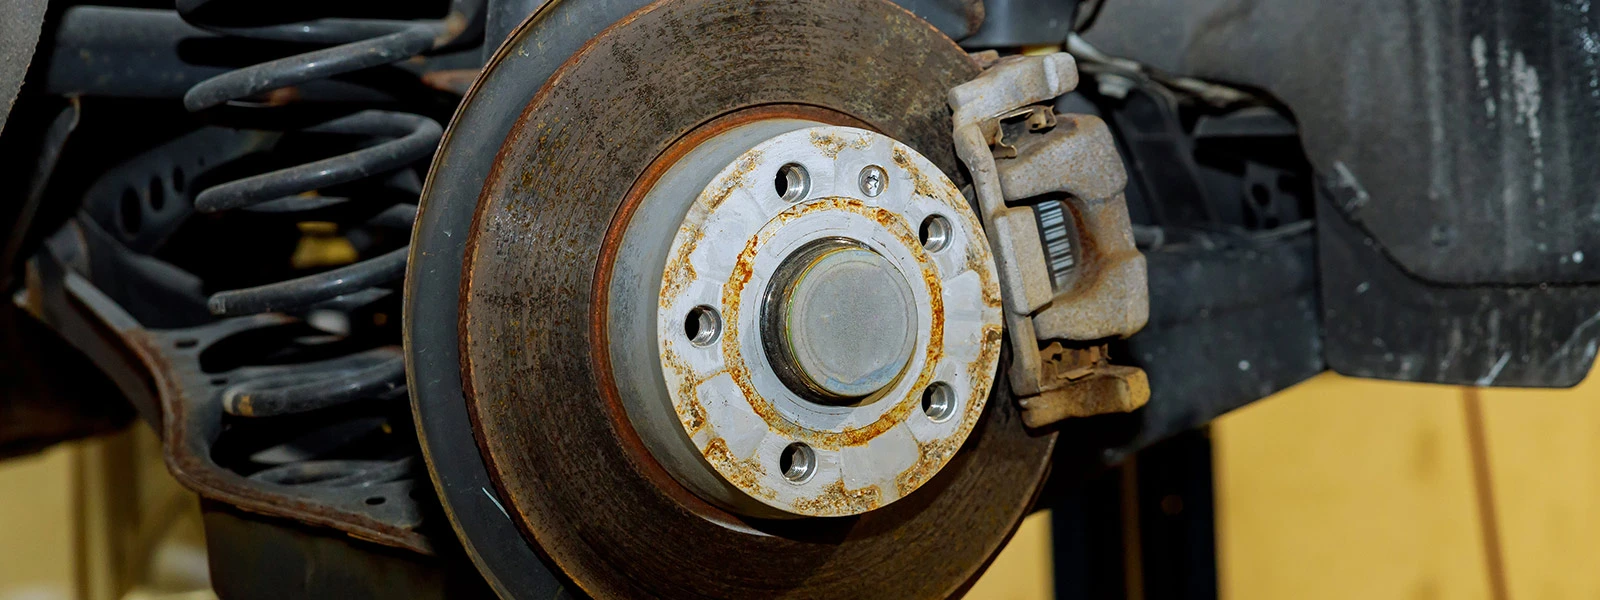
Take out the brake caliper
Every brake caliper has a brake fluid bleeding screw at the back covered with a rubber cap. Remove the cap to reach the screw, use pliers to make it loose, and then remove it. If there was a previous brake fluid leakage, the residual usually comes off during this step. Once the bleeding screw is out, remove the bolts that hold the caliper to its bracket. You may need to remove the brake pads first or not, depending on the pressure exerted on them or the rotor. Remove the retaining pins to lessen the tension, then slide the brake caliper from the rotor.
Put in the new calipers
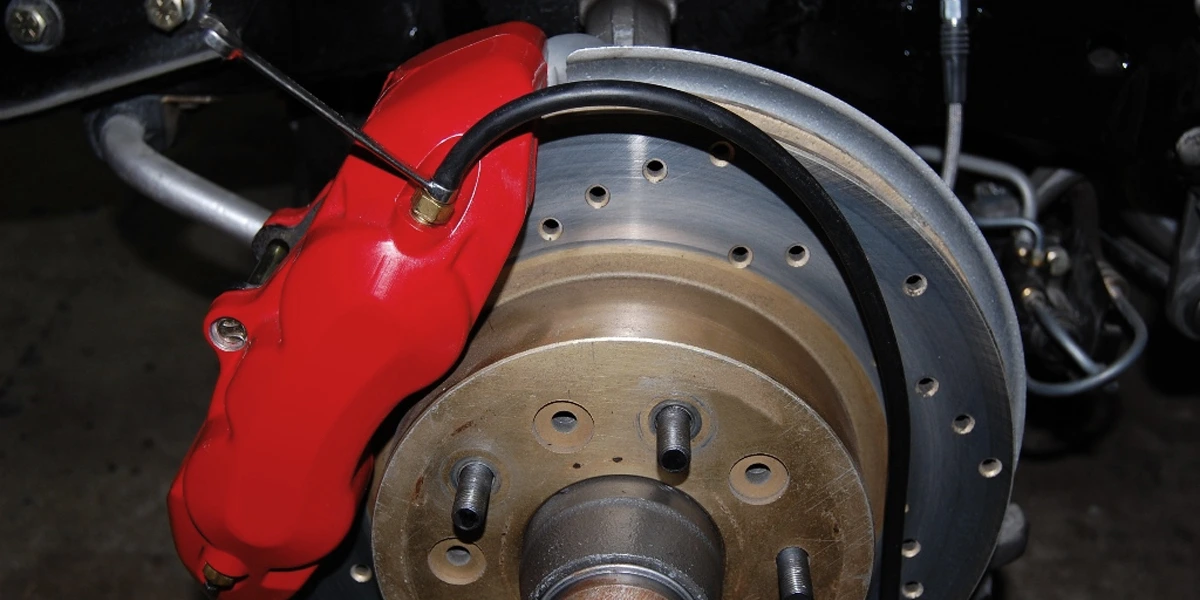
Brake calipers hold the brake pads and pistons within them. Make sure you have bought a high-quality brake caliper that fits your car. Before the installation, ensure the pistons are slightly retracted. Failure to do this destroys the piston seals, which causes the caliper to drag, and this is not what you want from a new piece. Some calipers come with attached brake pads. But if the pads are missing on your calipers, install the new ones, then set the calipers in place. Secure them over the rotor, fix the locator pins, and secure them using the retaining bolts. Also, remember to fix the brake bleeding screw after all these. The brake line usually connects to the caliper, so reattach it precisely as you removed it.
Initiate the bleeding process
After installing the new calipers, bleeding the brakes is vital. During the removal and fixing of the different components, some air rushes into the brake system, which may affect the tension in the system. Even after replacing the front calipers of your truck, ensure you bleed all calipers to remove air bubbles. The process begins at the furthest caliper, far away from the brake master reservoir. The bleeding steps are similar for any truck, but there are ways to go about it. You can use the 1-man brake bleeding or 2-man brake bleeding.
1-man brake bleeding process
Ideally, brake system bleeding is easy when two people are involved. However, some situations require individual effort after failing to locate a willing assistant to help you complete the procedure. In such a case, there are tools to help you with the bleeding, and you can find them in related stores. These tools are pretty old fashion but are reliable for the situation.
An example is the pressure bleeder, which you connect to the hydraulic fluid cylinder in the engine. Fill the pump with fluid using the air pump to a specified level or amount, then secure the lock mechanism. When doing this, you increase the braking system's pressure, therefore, the hydraulic fluid can flow easily through the brake system.
When the pressure bleeder is full of fluid and pressure, it's time to start working on the desired brake caliper. Connect a clear tube to the opening on the bleed valve and direct it to a can with brake fluid. Don't fill the can to the brim, instead, let the hose pour an amount that allows the hose to be partially submerged. The main reason for this immersion is to limit the amount of air entering the system as you want to decrease air bubbles completely.
Using a wrench, make the bleed valve loose, and brake fluid immediately comes out from the opening since the system is under pressure from the pressurized bleeder. You can use different tubing, but a clear one is recommended for various reasons. One, being transparent enabled you to see how the fluid is moving. If the flow isn't smooth, you can adjust the system accordingly to correct the issue. Two, having a clear tube helps you spot the trapped air bubbles.
To clear the air bubbles, open the braking system for the hydraulic fluid. Stop the process every 5-10 seconds by closing the valve so pressure can build up. Repeat the procedure for every brake caliper in your truck until no air pockets are visible and the fluid flowing out is clean.
2-man brake bleeding process
As the name suggests, the procedure requires two people to facilitate it. Unlike the one-person process, you've convinced someone to be your assistant for the day. Instead of using a bleeder tool to pressurize the system, your assistant manually causes pressure to form within the system.
Start by filling the brake fluid cylinder with brake fluid, then let the assistant pump the brake pedal continuously until its firm. While at it, ensure the caliper valve is closed throughout. Your friend should keep pushing on the pedal as you loosen the caliper bleed valve to allow the old hydraulic fluid to flow. Like in the other process, use a clear tube and can with liquid to detect the movement and air pockets.
Often shut the valve to increase pressure and repeat the process from the pedal pressure to the catch can. Open it again to release more brake liquid and add it into the brake fluid reservoir if the supply reduces. The aim of repeating the process is to expel the old brake liquid. Keep doing it until the liquid is clean and no air bubbles are evident. Do it also for all calipers to have a successful brake bleeding process.
Bottom line
Changing your Ford F-150 front brake caliper is necessary after an extended period or in case of damage. The process can be cheap if you do it yourself but be difficult without a clear guide. The steps above guide you on the replacement from the wheel removal to brake bleeding. Use proper tools for the procedure and request a friend's help when necessary to ease the changing process.


