How to Replace a Cabin Air Filter

A clean cabin air filter enhances your vehicle's air quality. This guide walks you through the signs that indicate a replacement is needed, the tools required, and common mistakes to avoid, making the process easy and effective.


Maintaining your car’s cabin air filter is one of the simplest and most cost-effective ways to improve your driving experience. This small but essential component ensures clean air inside your vehicle, eliminates odors, and keeps allergens at bay. The best part? Replacing it yourself is quick, easy, and saves you money. In this guide, we’ll explain everything you need to know about replacing your cabin air filter.
Why cabin air filters matter
Your car’s cabin air filter plays a crucial role in maintaining air quality within the cabin. It filters out dust, pollen, debris, and even harmful pollutants, ensuring the air you breathe is fresh and clean. Over time, the filter becomes clogged with dirt, reducing airflow and potentially causing unpleasant odors. A dirty filter also forces your HVAC system to work harder, reducing its efficiency and increasing the strain on your car's components.
Replacing your cabin air filter regularly ensures a comfortable, odor-free, and healthier environment inside your car.
Signs it’s time to replace your cabin air filter
Not sure if your cabin air filter needs replacing? Look out for these signs:
- Reduced airflow: Weak airflow through your vents, even when the fan is on high, could indicate a clogged filter.
- Unpleasant odors: Musty or stale smells in your car may mean your filter is saturated with dirt or mold.

- Increased allergies or dust: If you notice more dust on your dashboard or experience allergy symptoms, your filter might not be doing its job.
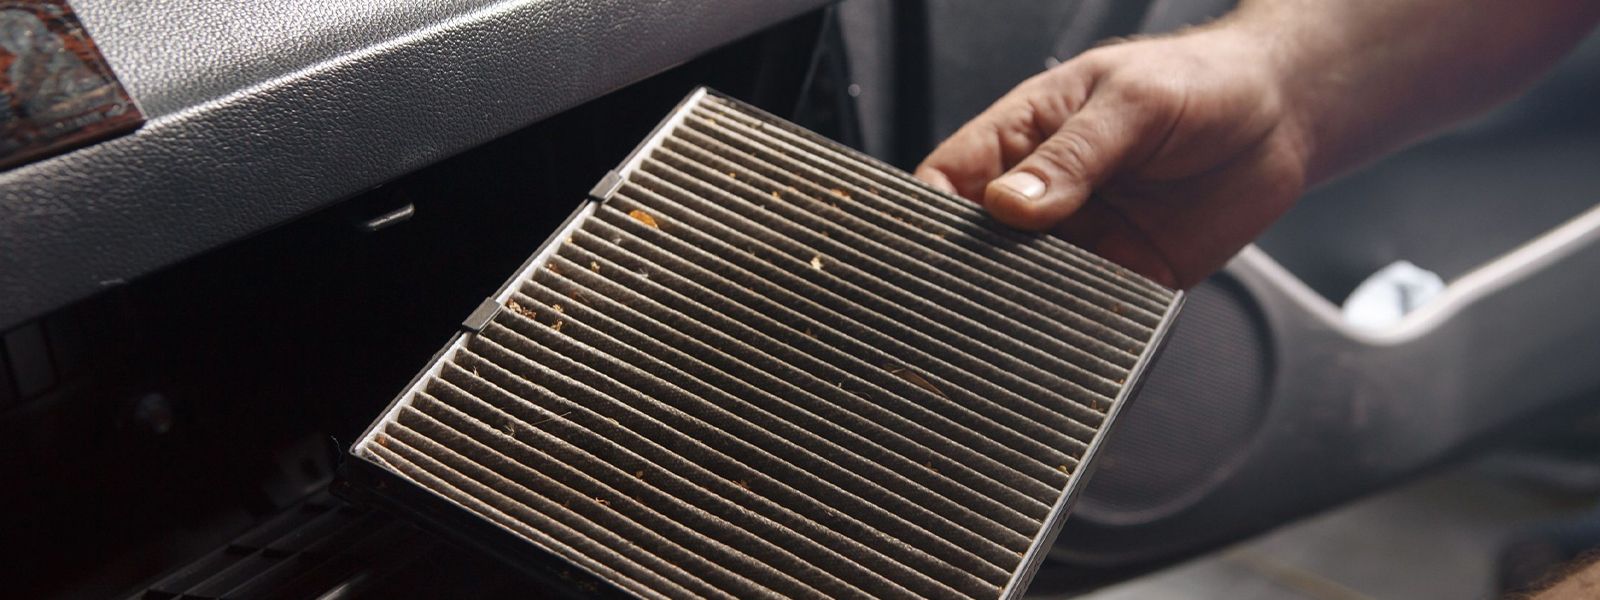
- Visual check: If you remove the filter and see it’s covered in dirt, leaves, or debris, it’s time for a replacement.
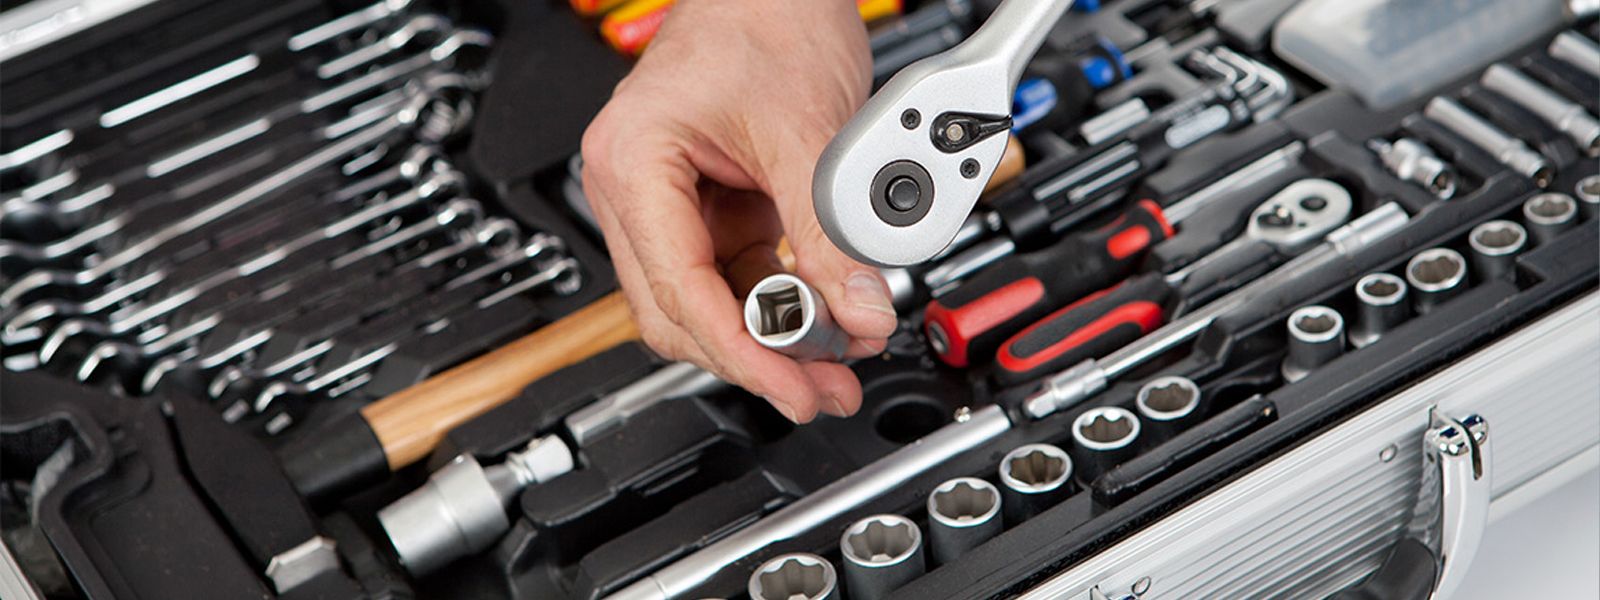
Tools and materials you’ll need
Before you start, gather the following tools and materials:
- A new cabin air filter (check your owner’s manual or search online for the correct size/type for your car).
- A screwdriver (if required for your car’s filter compartment).
- Gloves (optional but helpful for keeping your hands clean).
- A vacuum cleaner or a damp cloth (to clean the filter compartment).
You can find replacement filters at auto parts stores, online retailers, or your car’s dealership. Filters come in different types, such as standard, activated carbon (for odor control), or HEPA (for better allergen filtration). Choose one based on your needs and budget.
Replacing a cabin air filter in 6 steps
Step 1: Locate the cabin air filter
Find your manual: Consult your vehicle’s owner’s manual to identify where the cabin air filter is located, typically behind the glove box or under the dashboard on the passenger side.
Step 2: Gather your tools
Get prepared: You’ll need a screwdriver, pliers (if required), and a new cabin air filter. Make sure your workspace is clean and organized.
Step 3: Remove the old filter
Access the filter: Open the glove box and remove any items inside. If necessary, unscrew or unclip to drop the glove box down and access the filter compartment. Take out the old filter, noting its orientation.
Step 4: Clean the compartment
Remove debris: Use a vacuum or damp cloth to clean any dust or debris in the filter compartment to ensure a clean installation.
Step 5: Install the new filter
Insert the new filter: Check the airflow direction indicated on the new filter. Slide it into the compartment, ensuring it fits snugly in the same orientation as the old one.
Step 6: Reassemble and test
Put everything back: Reattach any covers or panels and the glove box. Start your vehicle and turn on the HVAC system to check for improved airflow and any unusual sounds.
Common mistakes to avoid
Replacing a cabin air filter can be straightforward, but it's easy to make mistakes that compromise air quality. Consulting the owner's manual is crucial to ensure you use the right filter; a mismatch can lead to ineffective performance. Installing the filter in the correct airflow direction is vital—getting it backward negates its purpose. Cleaning the filter housing before installation helps prevent contamination while checking the blower motor and ducts for blockages can enhance airflow. After installation, running the HVAC system is essential to confirm everything is working properly. By avoiding these common pitfalls, you’ll improve the air quality and efficiency of your vehicle.


